FokkeRC 1/5 Spitfire MKIX build log


 02-08-2021, 04:56 AM
#103

Thread Starter

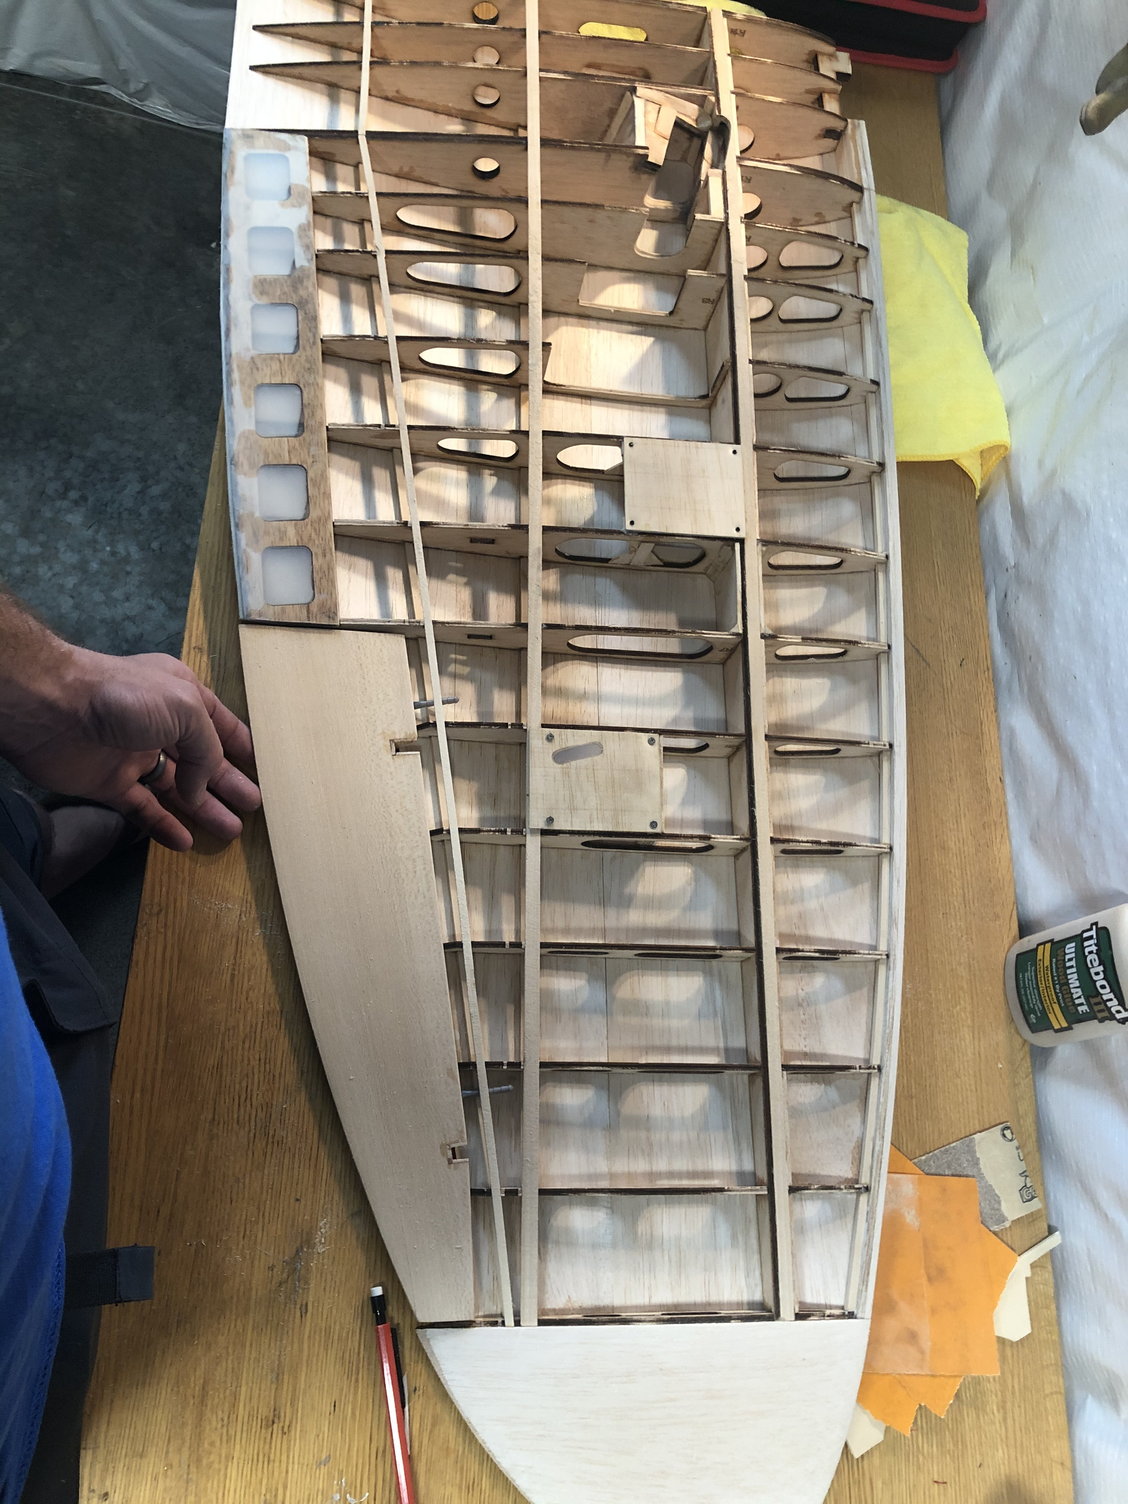
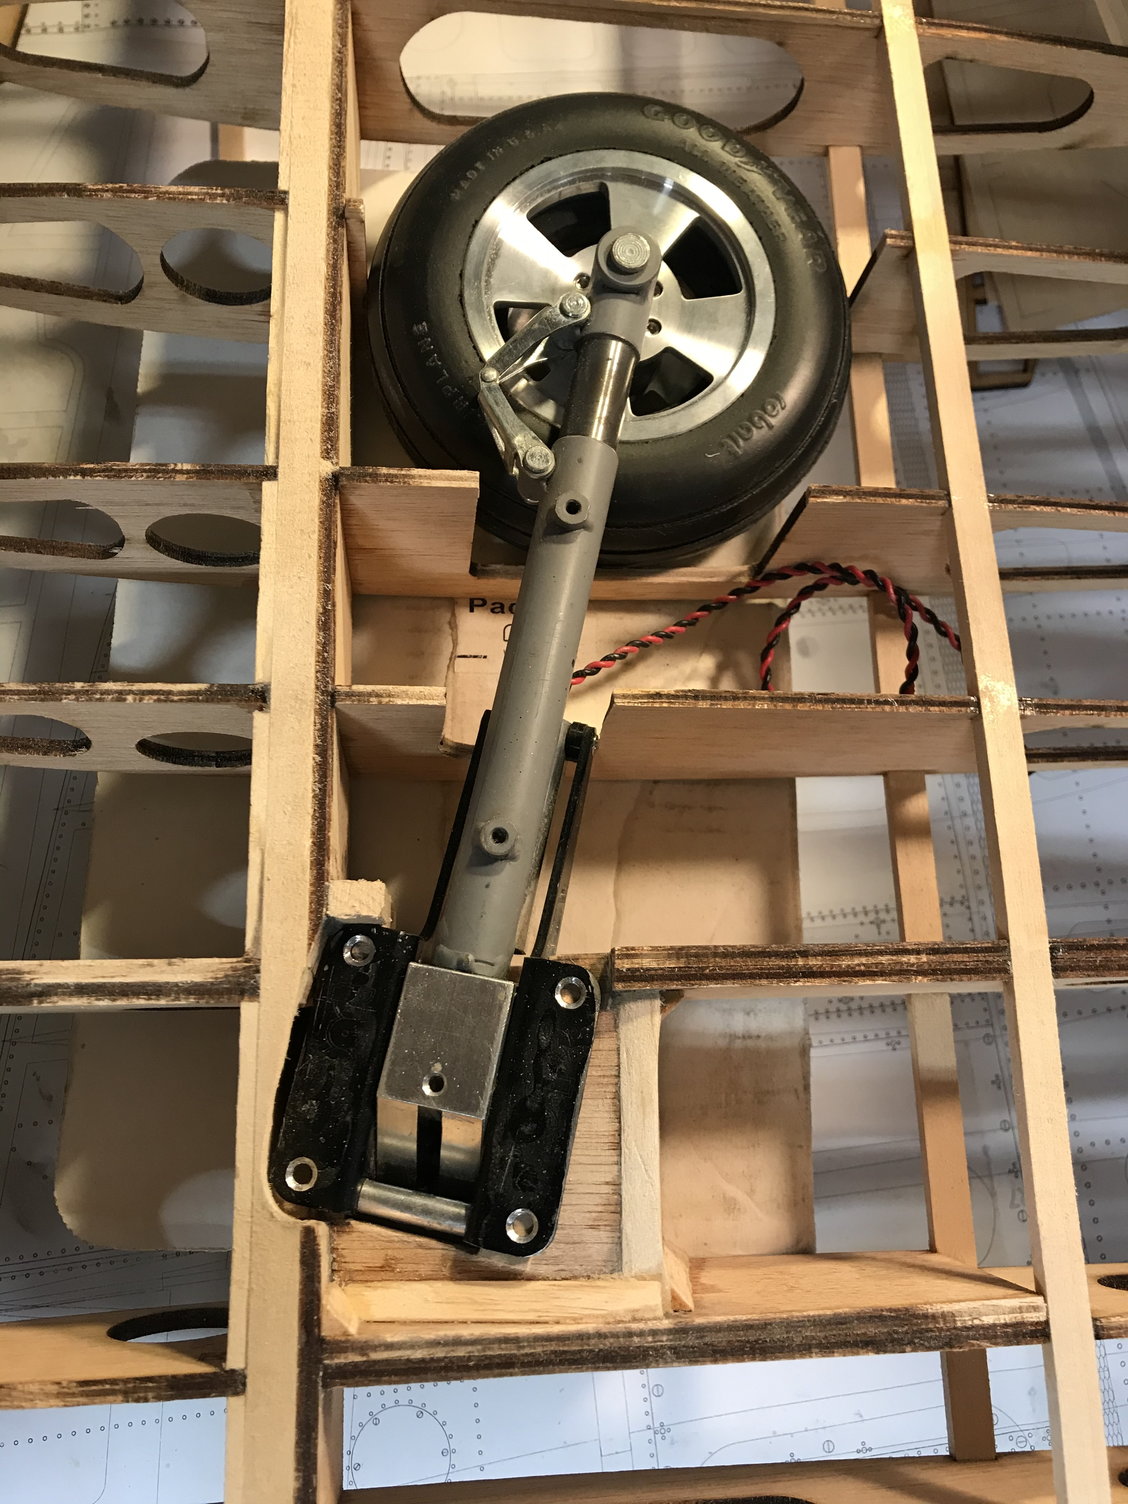
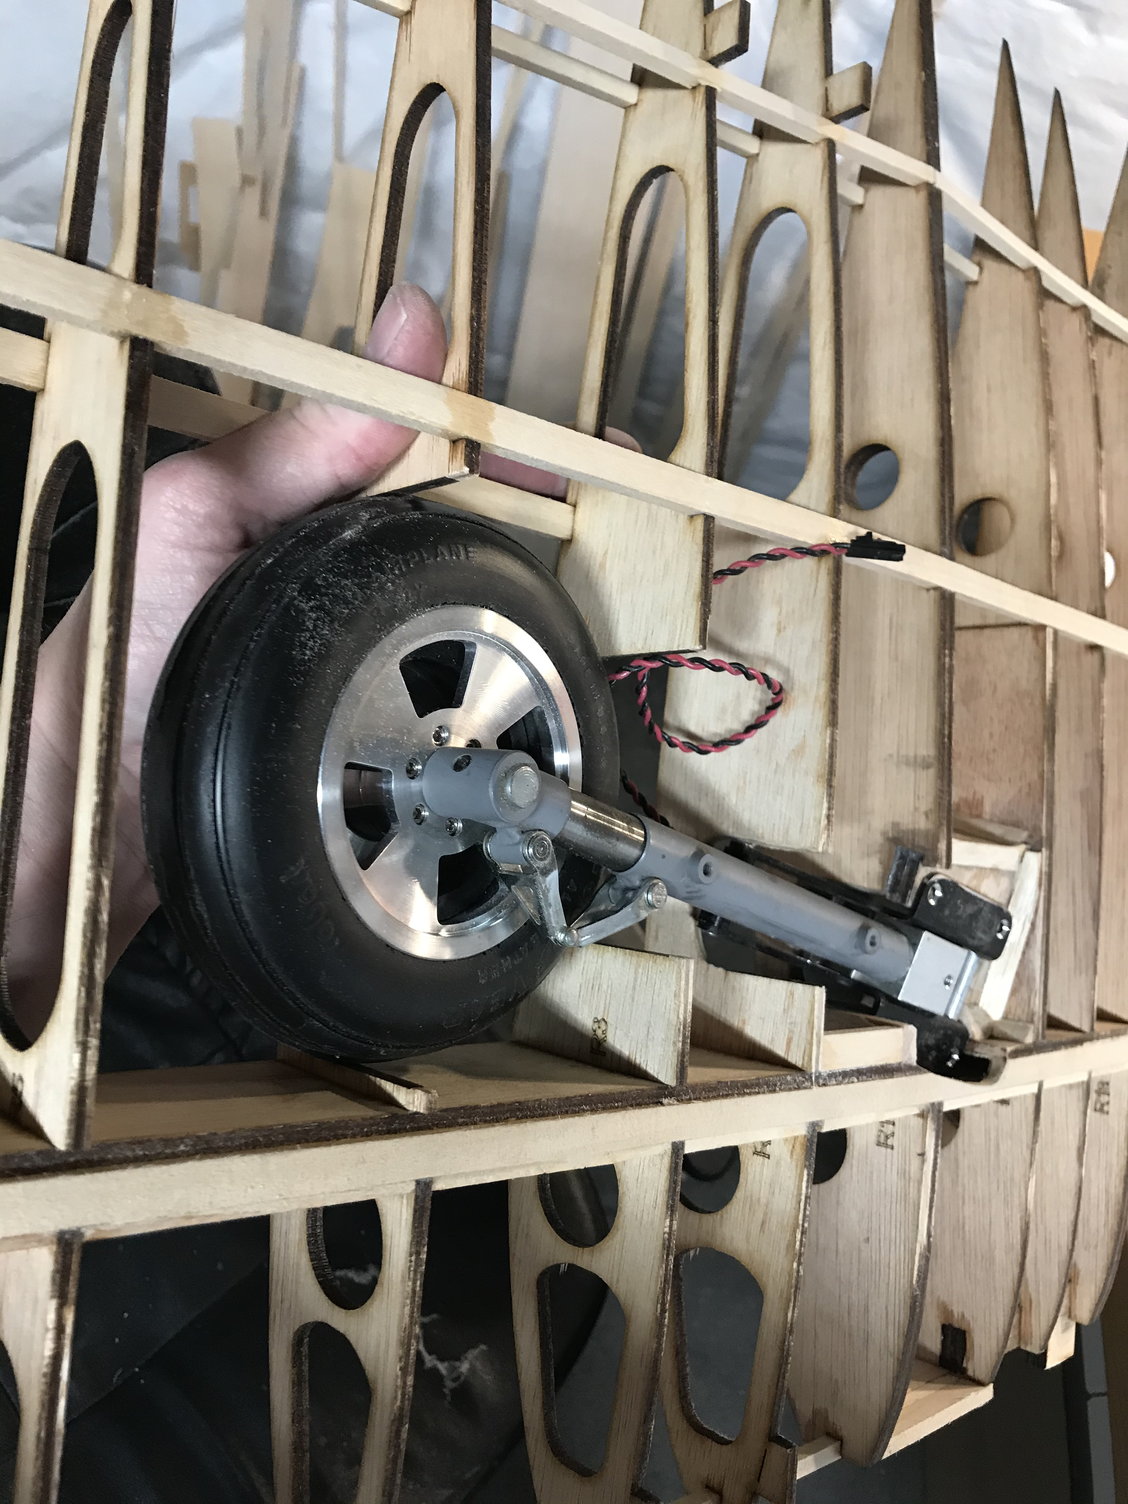
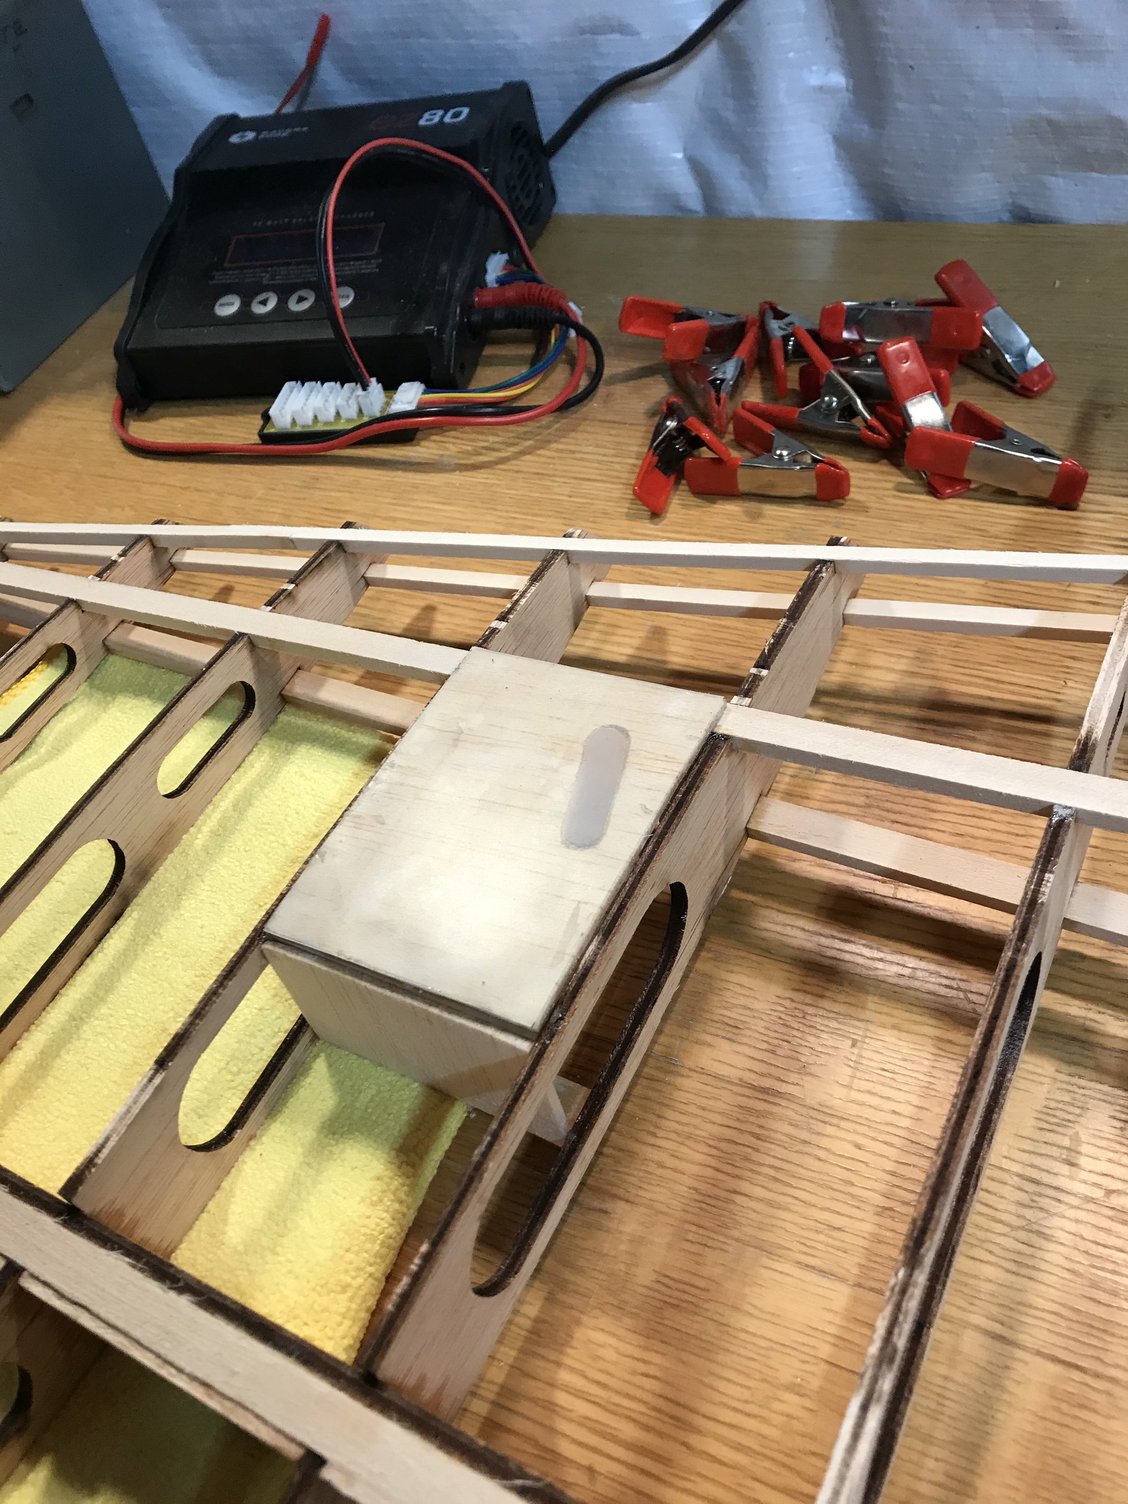
I finished up the shear webbing on the left wing half yesterday and decided to look at the retract housing. Fokkerc provides you with the ply mounting plates and most importantly they install at the correct angles and elevation, however from there your on your own. The robart electric gear and 5� robart aluminum wheels I chose for this kit will work great, it�s just going to take some fitting and some trimming to get them installed properly. I�m also planning to add some extra structure to tie the mounts into the spar area around the retract housing. I didn�t get a chance to grab photos of this before I took off for work, but I�ll post progress when I return home.
02-13-2021, 04:45 AM
#104
Thread Starter
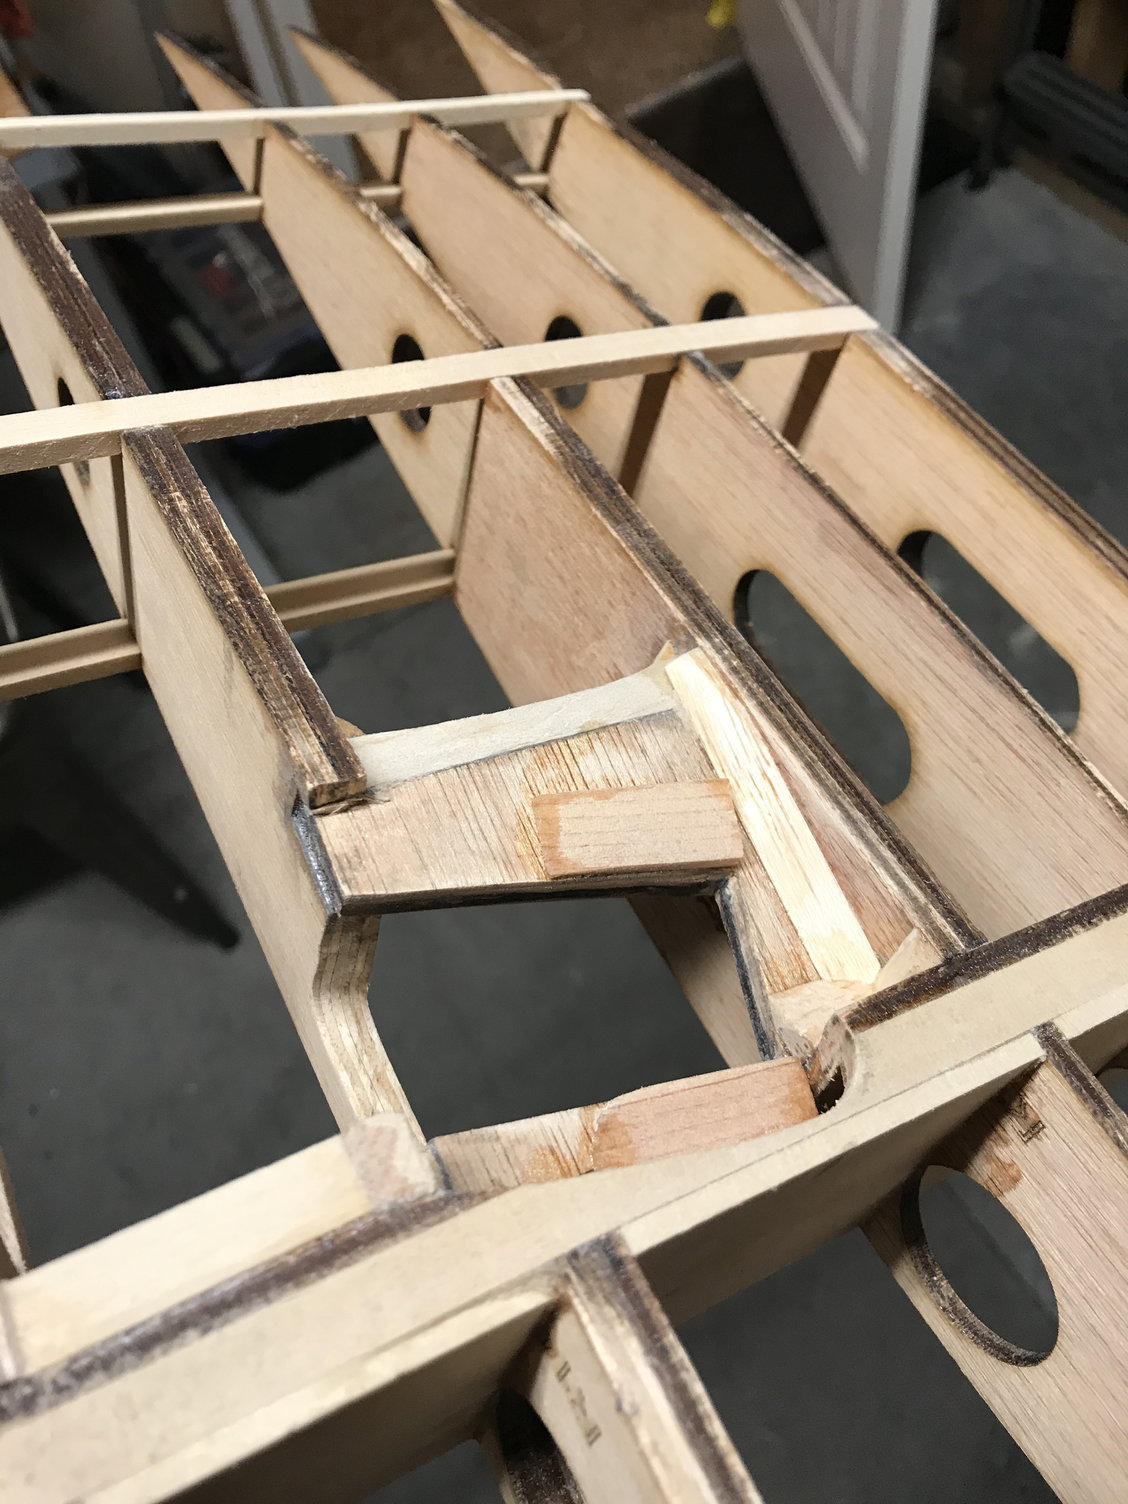
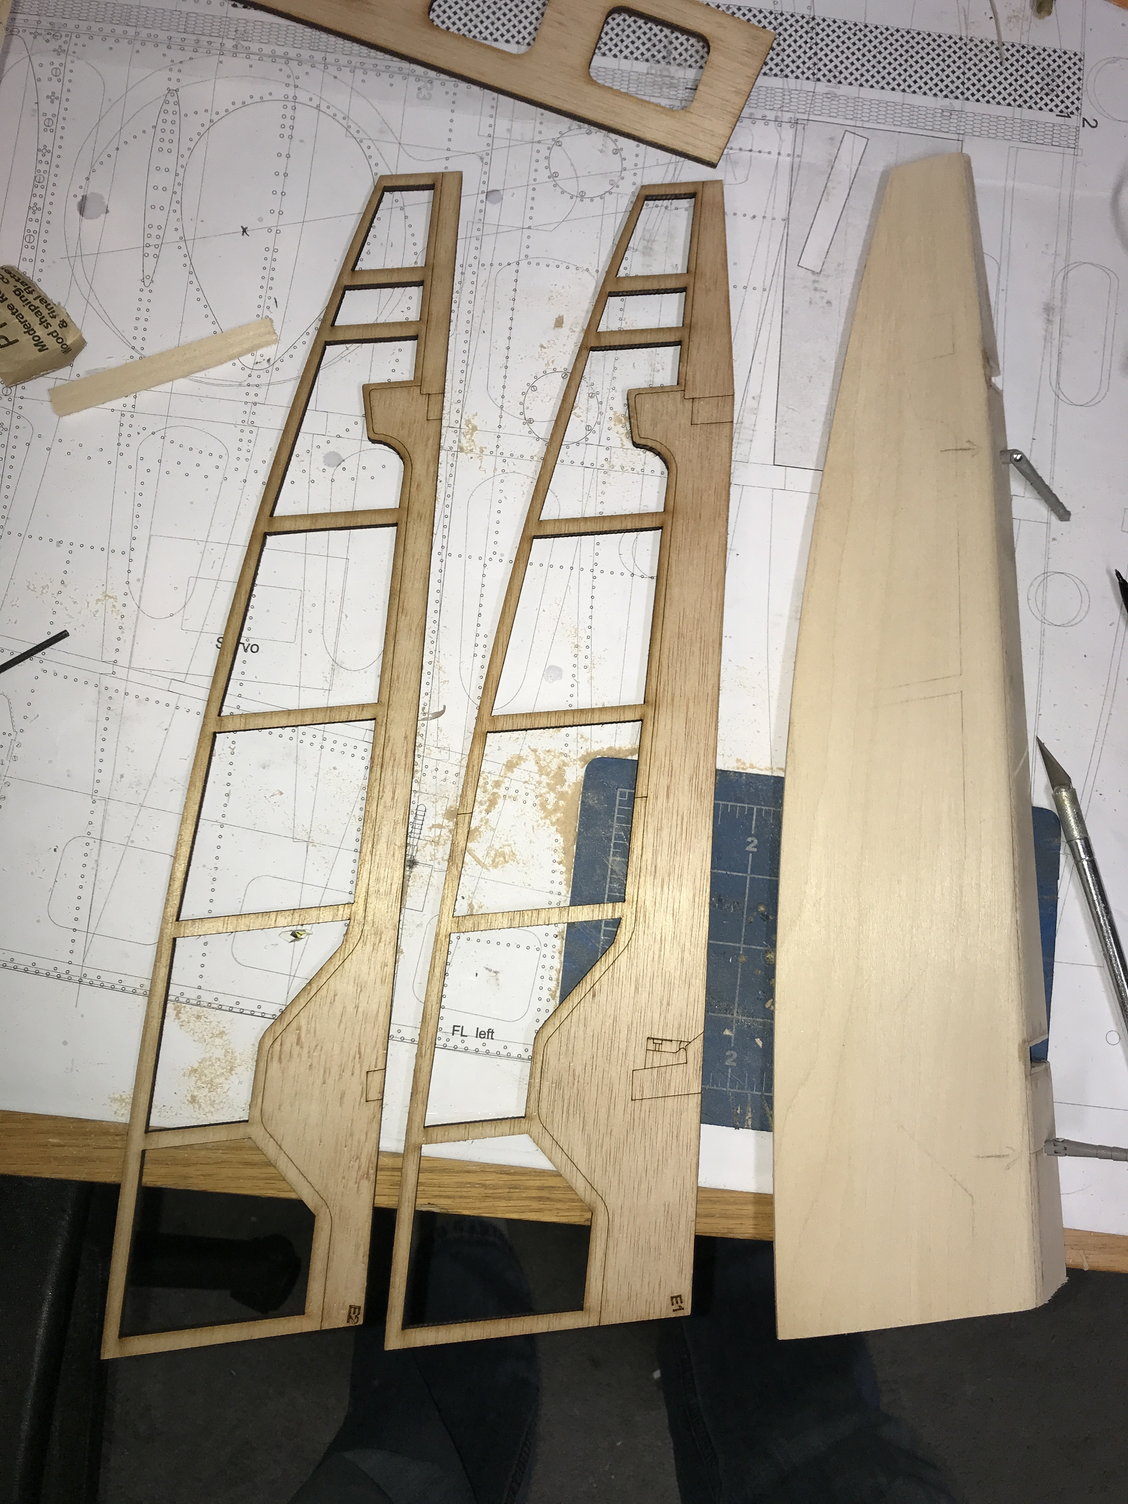
I finished up the left wing retract housing yesterday. It�s been reinforced using tristock and bass formers. I�ll also fiberglass the two or 3 rib bays in that area. Took a bit of fitting, and trimming but it�s ready to drill at this point. I did need to shim the mounts about 2mm on the inboard side to allow the gear to retract fully. I also got to work on the left aileron. I decided to go with 3/32 bass sheet instead of the 4mm poplar ply as I would have been sanding half the ply material away to obtain the correct shape.

The following users liked this post:
flyingpiggy (02-15-2021)
02-13-2021, 06:03 AM
#107
Thread Starter
 02-13-2021, 06:17 AM
#109
Thread Starter
I grabbed the fiberglass radiators from fliteskin Aeroscale. Rumen does supply the material to build them in the kit.
02-13-2021, 06:28 AM
#110
Junior Member
thank you for your answer. You bought the radiator separately, didn't you?
I previously asked about the size of the canopy. The ones that came with my kit are too small to use. I tried to upload an image to this forum but didn't know how.
I have a production article on my facebook.
Please see if you like.
I previously asked about the size of the canopy. The ones that came with my kit are too small to use. I tried to upload an image to this forum but didn't know how.
I have a production article on my facebook.
Please see if you like.
02-13-2021, 06:35 AM
#111
Thread Starter
thank you for your answer. You bought the radiator separately, didn't you?
I previously asked about the size of the canopy. The ones that came with my kit are too small to use. I tried to upload an image to this forum but didn't know how.
I have a production article on my facebook.
Please see if you like.
I previously asked about the size of the canopy. The ones that came with my kit are too small to use. I tried to upload an image to this forum but didn't know how.
I have a production article on my facebook.
Please see if you like.
 02-13-2021, 08:09 AM
#113
Thread Starter
Last edited by Wyoturbine; 02-13-2021 at 08:11 AM.
02-14-2021, 05:18 AM
#115
Thread Starter
I think it will be, once I get the upper surface skinned I�ll lay up fiberglass in the bays surrounding the retract housings. I need to grab some balsa block so I can continue with wing tips and then leading edge
02-17-2021, 02:07 PM
#116
Join Date: Sep 2008
Location: shawnee, KS
Posts: 29
Likes: 0
Received 0 Likes
on
0 Posts
I am very excited to see not only someone building this kit, but also someone at our field! I can't wait to see this bird in the sky!
if I'm not mistaken I saw a promodeler servo in a few pics. I am a fan of promodeler servos. I have to planes with all promodeler servos and I have had excellent results.
This kit looks to be the most scale one I've seen yet! Thanks for sending me the link!
if I'm not mistaken I saw a promodeler servo in a few pics. I am a fan of promodeler servos. I have to planes with all promodeler servos and I have had excellent results.
This kit looks to be the most scale one I've seen yet! Thanks for sending me the link!
02-17-2021, 06:36 PM
#117
Thread Starter
I am very excited to see not only someone building this kit, but also someone at our field! I can't wait to see this bird in the sky!
if I'm not mistaken I saw a promodeler servo in a few pics. I am a fan of promodeler servos. I have to planes with all promodeler servos and I have had excellent results.
This kit looks to be the most scale one I've seen yet! Thanks for sending me the link!
if I'm not mistaken I saw a promodeler servo in a few pics. I am a fan of promodeler servos. I have to planes with all promodeler servos and I have had excellent results.
This kit looks to be the most scale one I've seen yet! Thanks for sending me the link!
03-05-2021, 04:16 PM
#118
Thread Starter
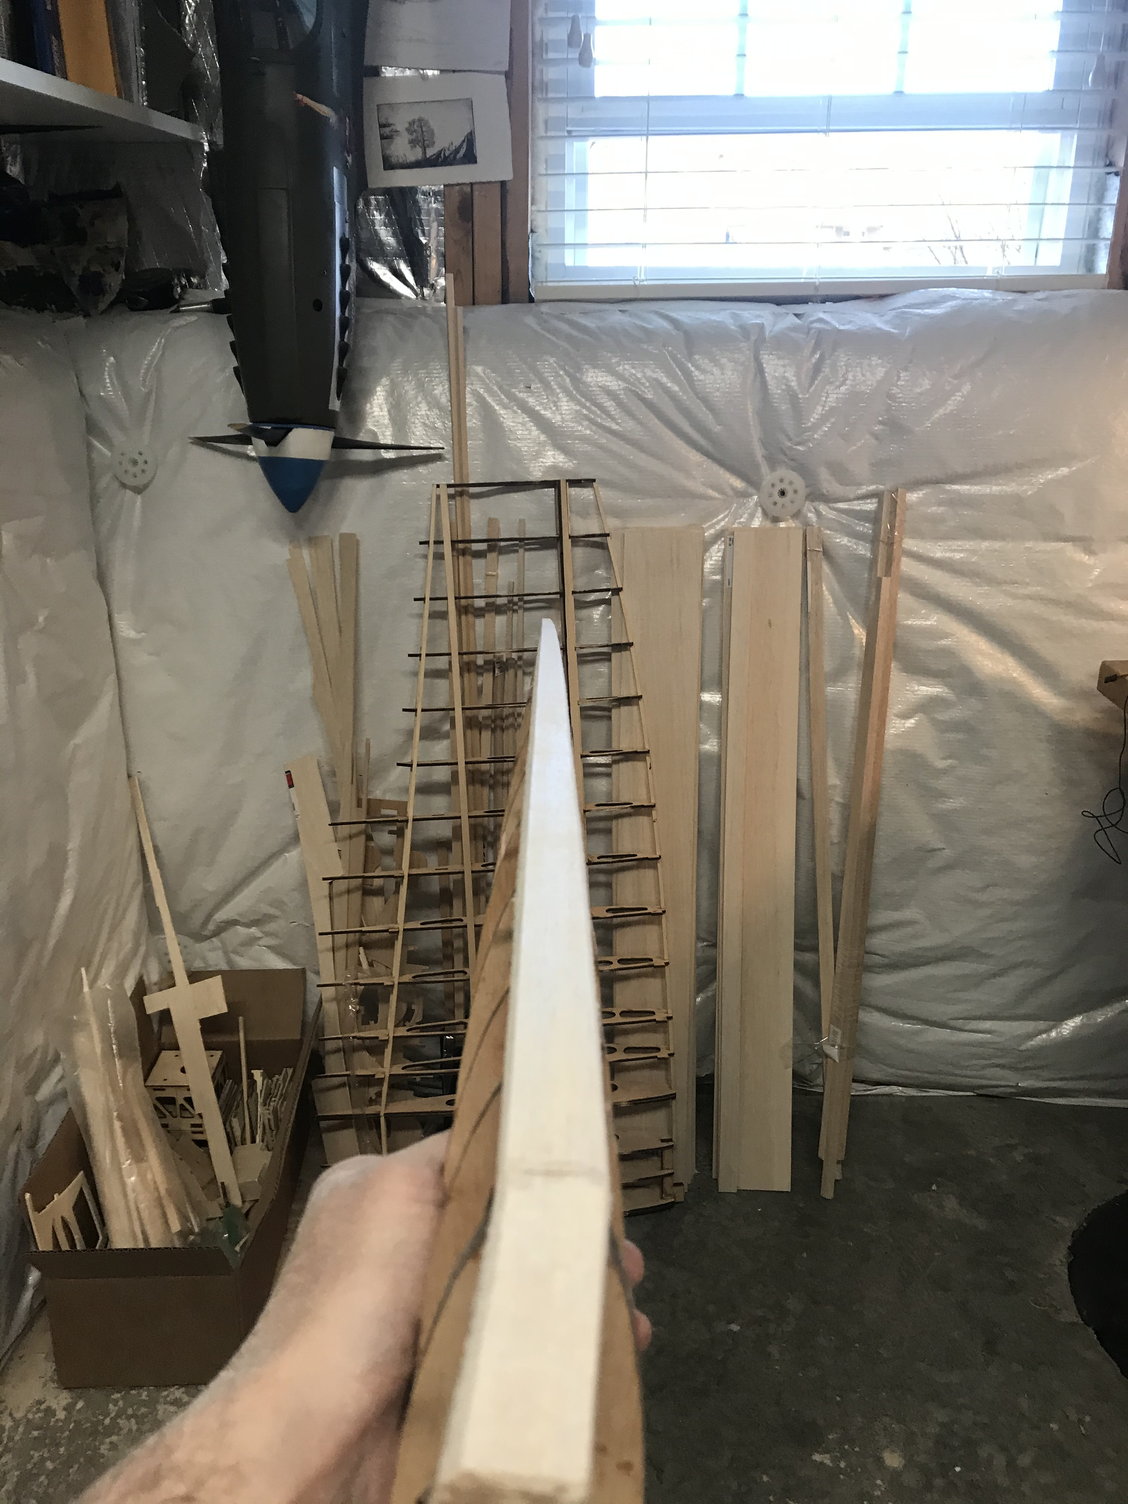
Finally finished up the left wing retract housing, haven�t had a whole lot of time lately. I started on the leading edge and wing tip of the right side this afternoon, hopefully I�ll get some momentum going again!

03-07-2021, 04:25 AM
#121
Thread Starter
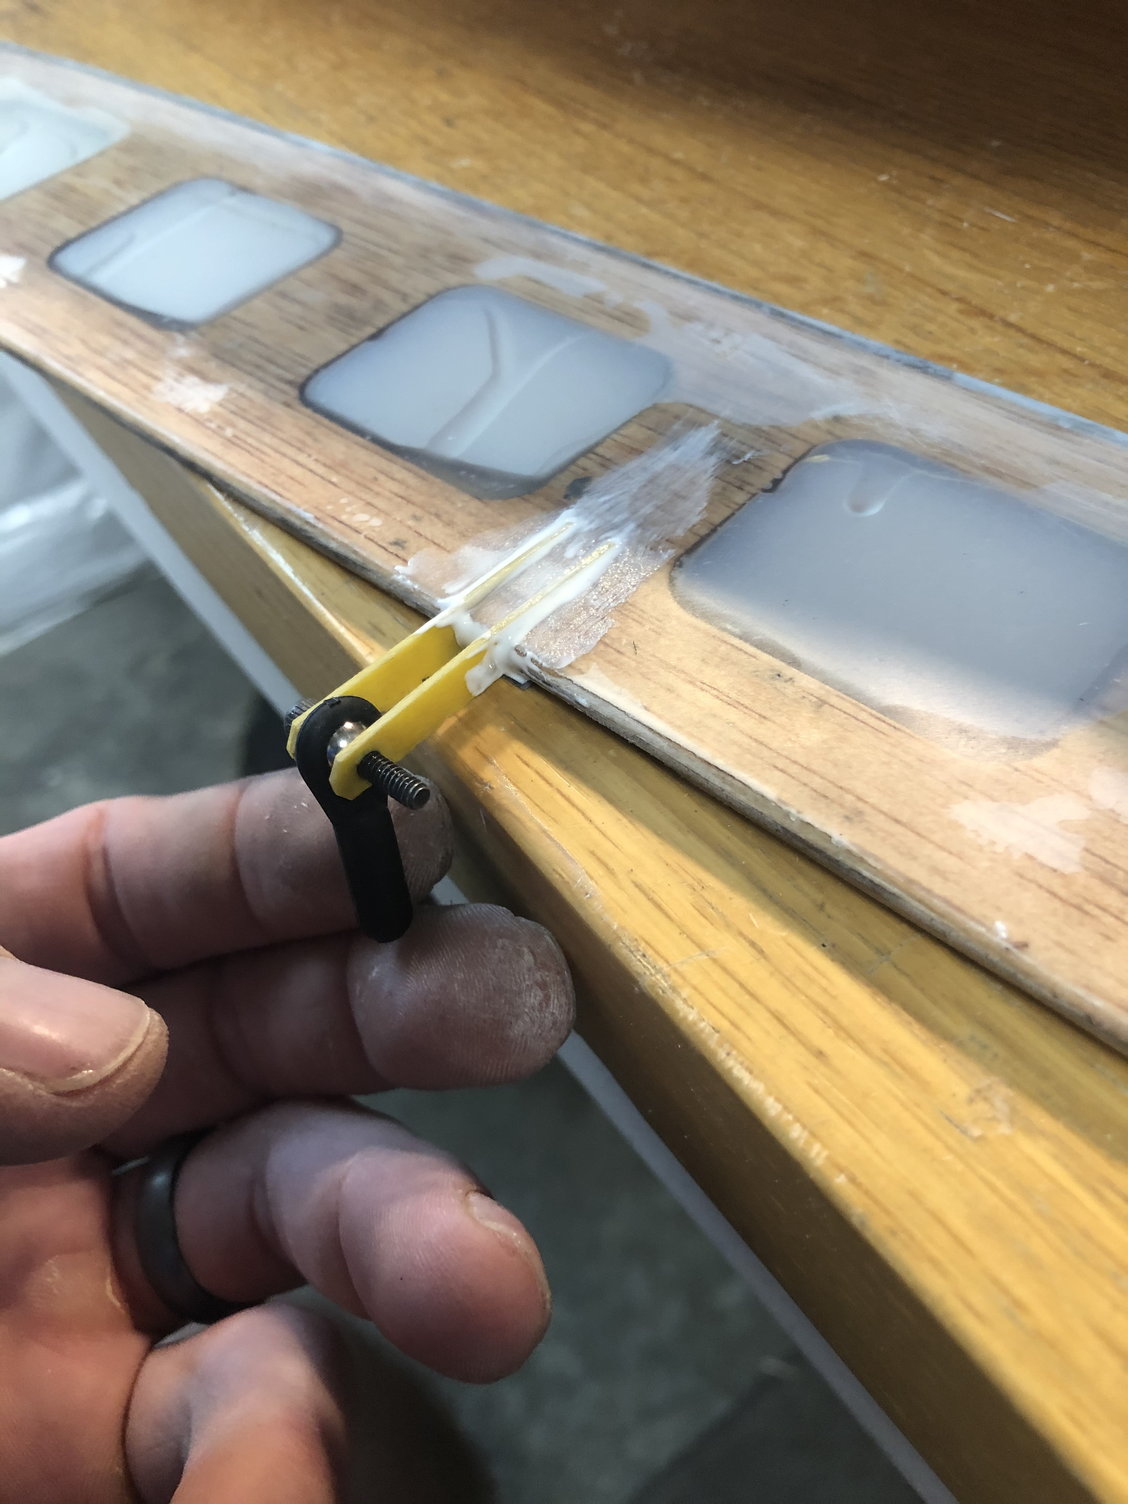
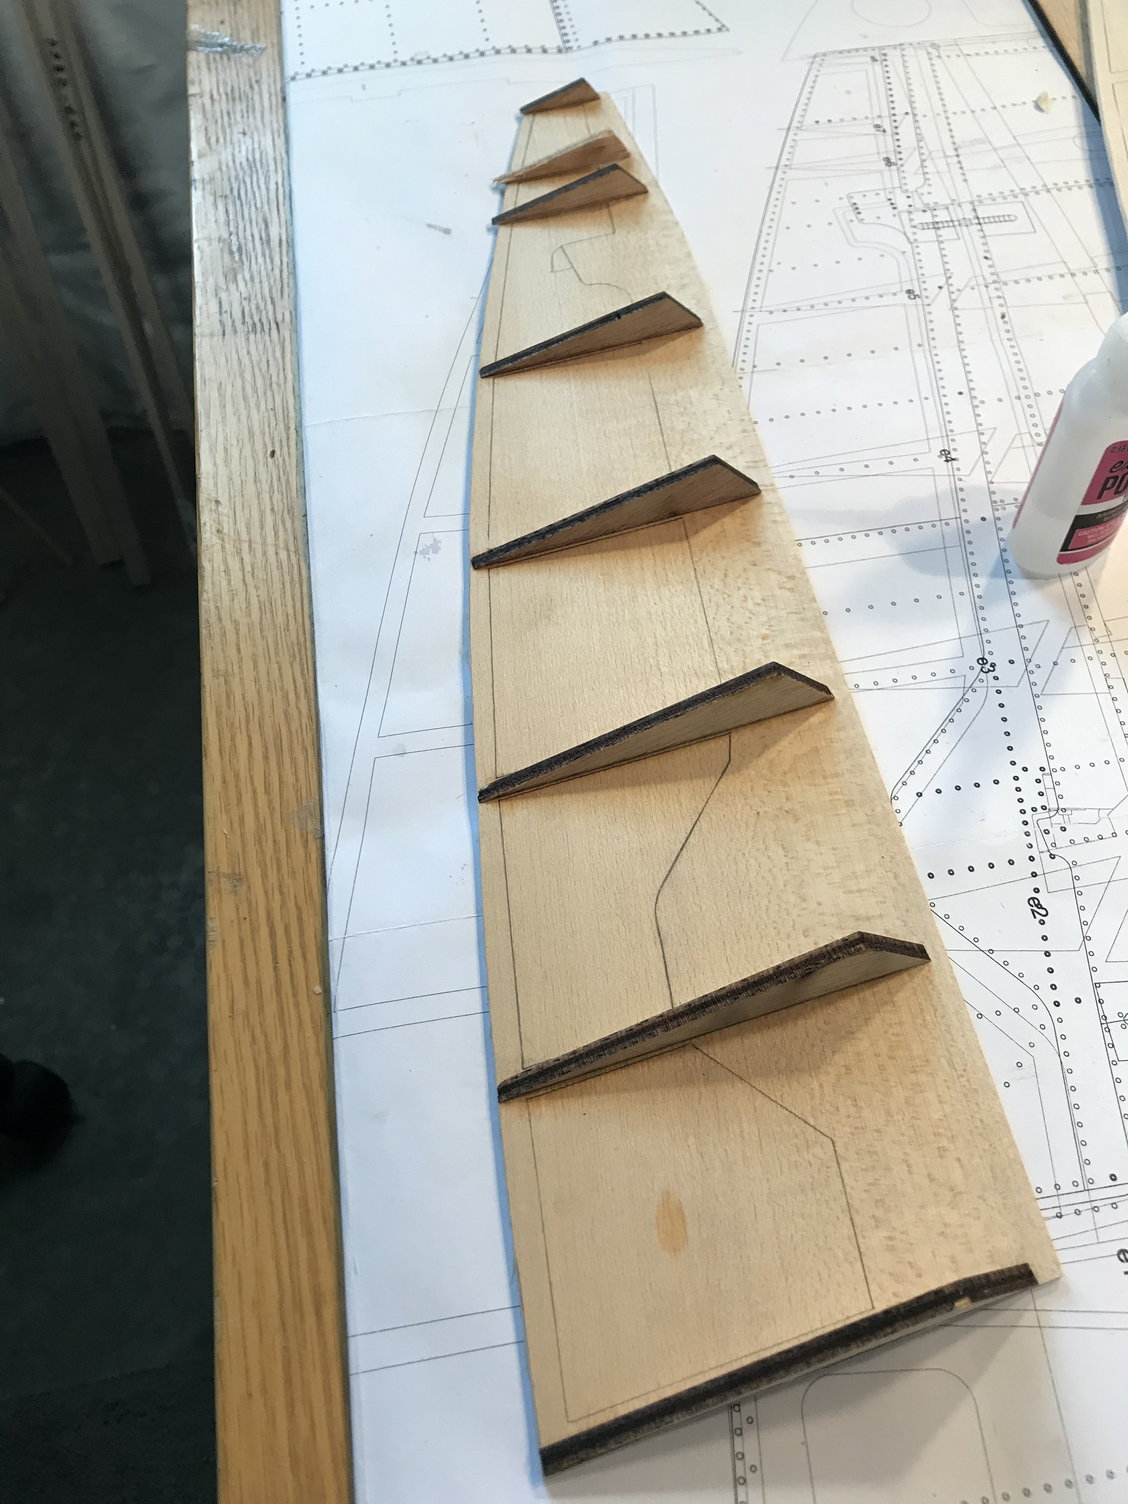
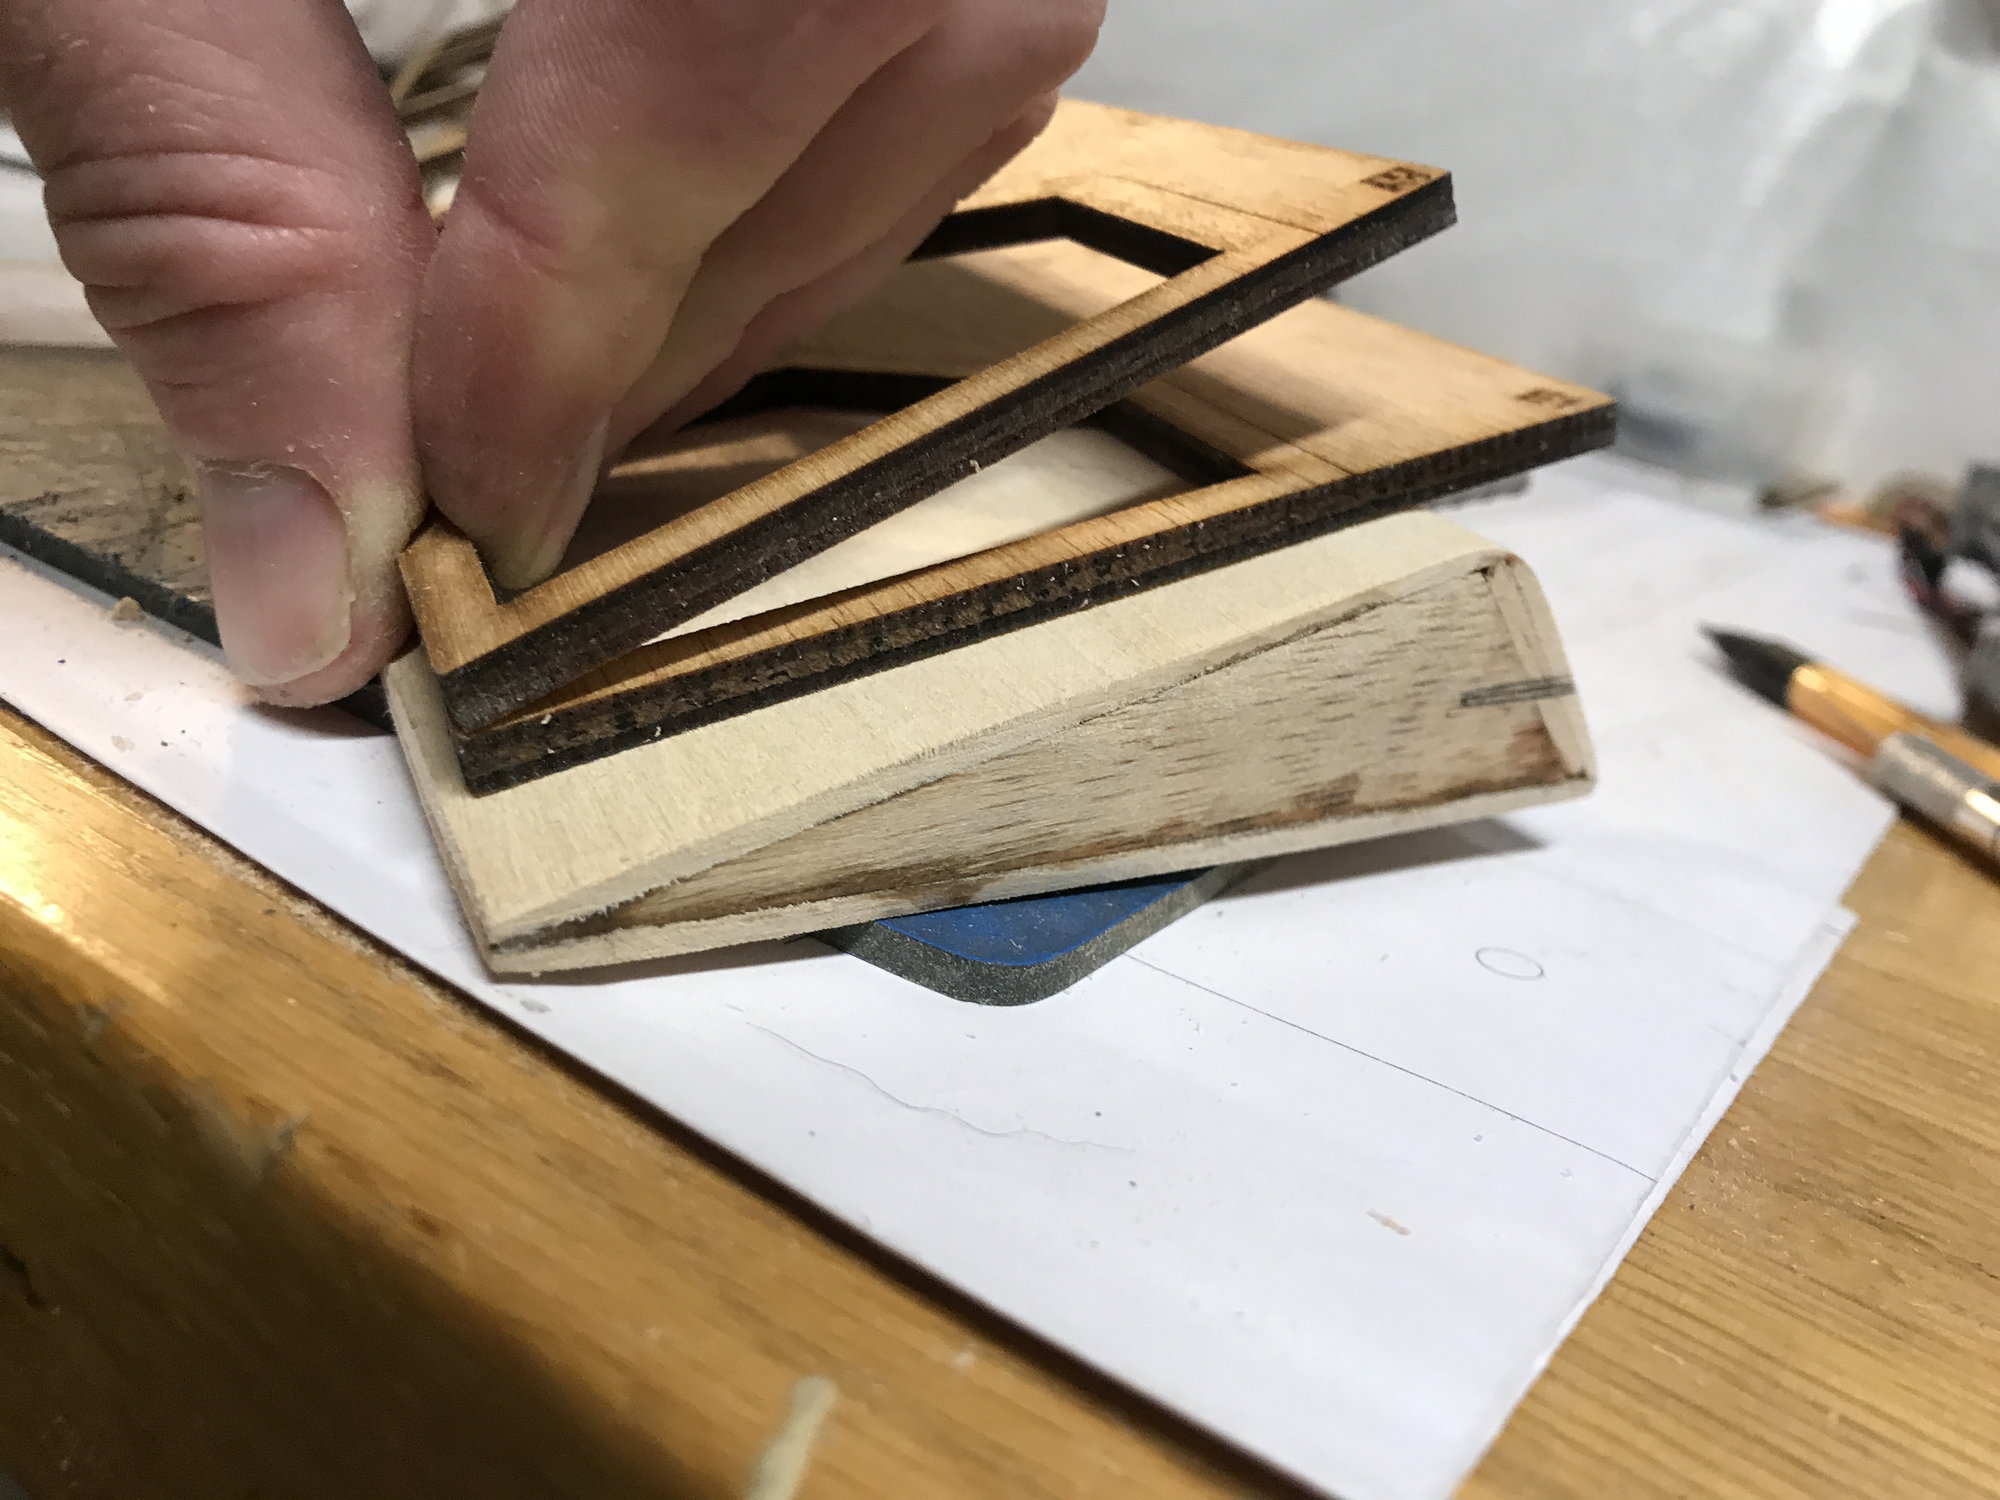
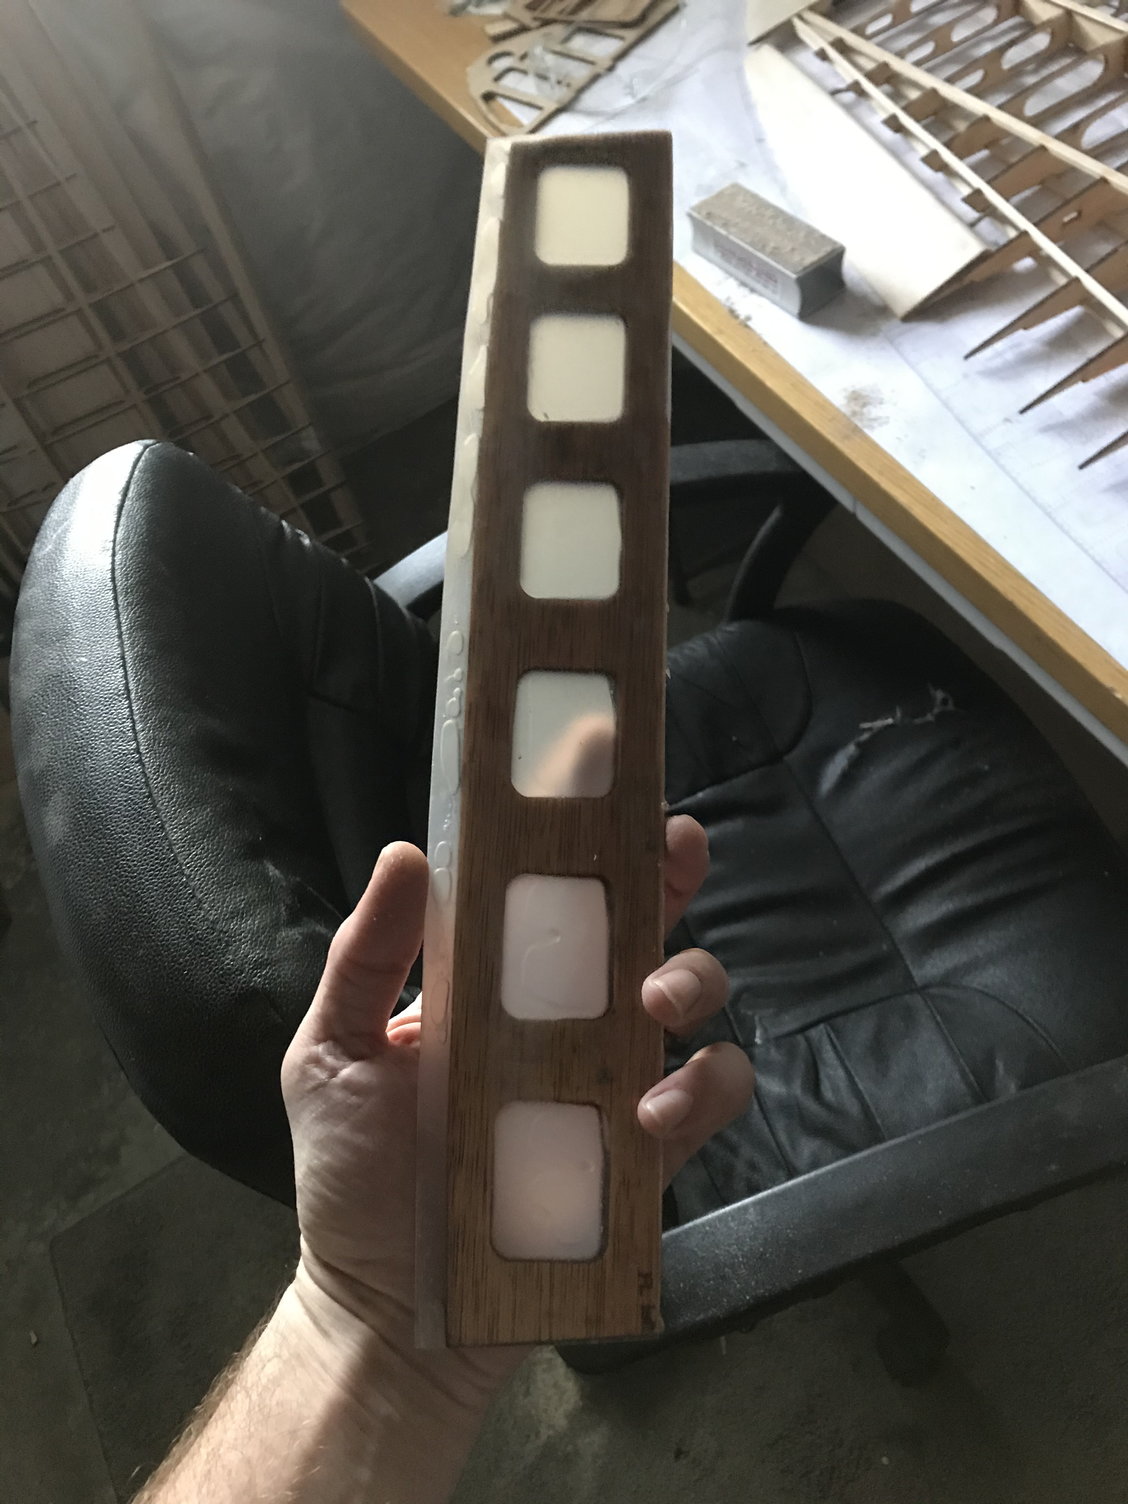
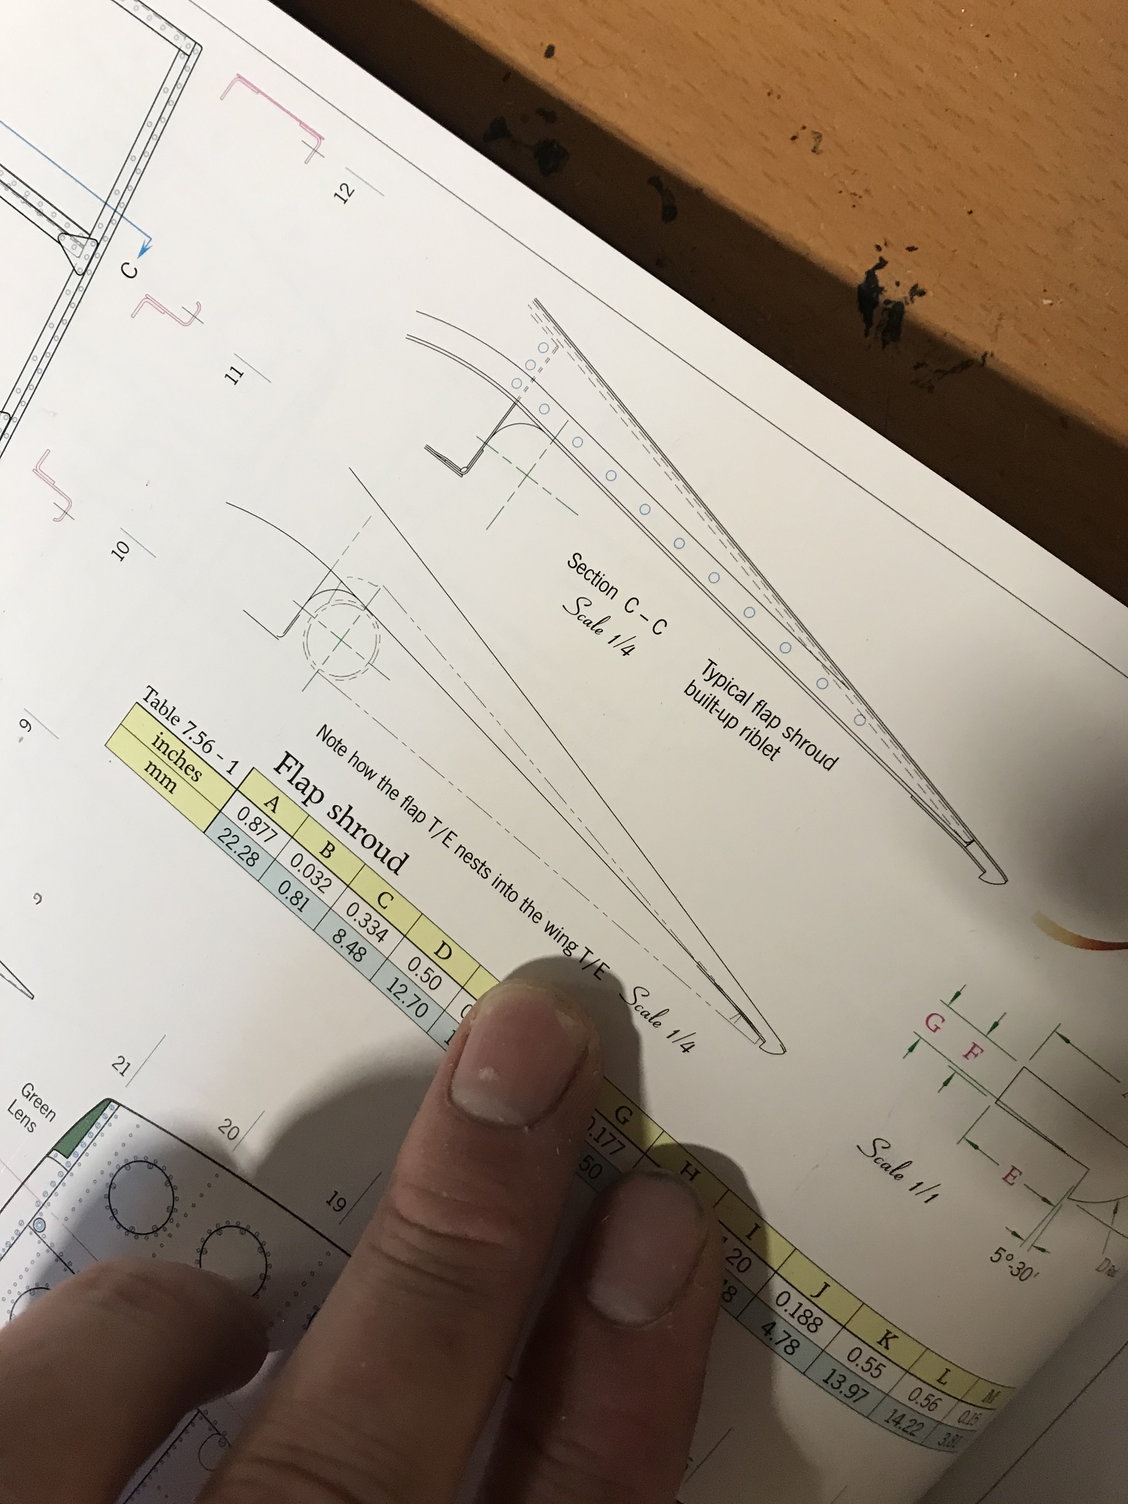
I started working on flaps yesterday, the kit provides ply templates, since they�re all cut out of 4mm ply I needed to shape the trailing edge down a bit. I was able to try out the fliteskin for the first time as well. Awesome stuff, I used gorilla glue per their instructions and using clamps I was able to get the trailing edge to neck down to almost nothing, very cool product. I�ll finish sand them next then run the interior rib detail etc. Looking to do an internal linkage for these.

04-09-2021, 04:12 AM
#122
Thread Starter
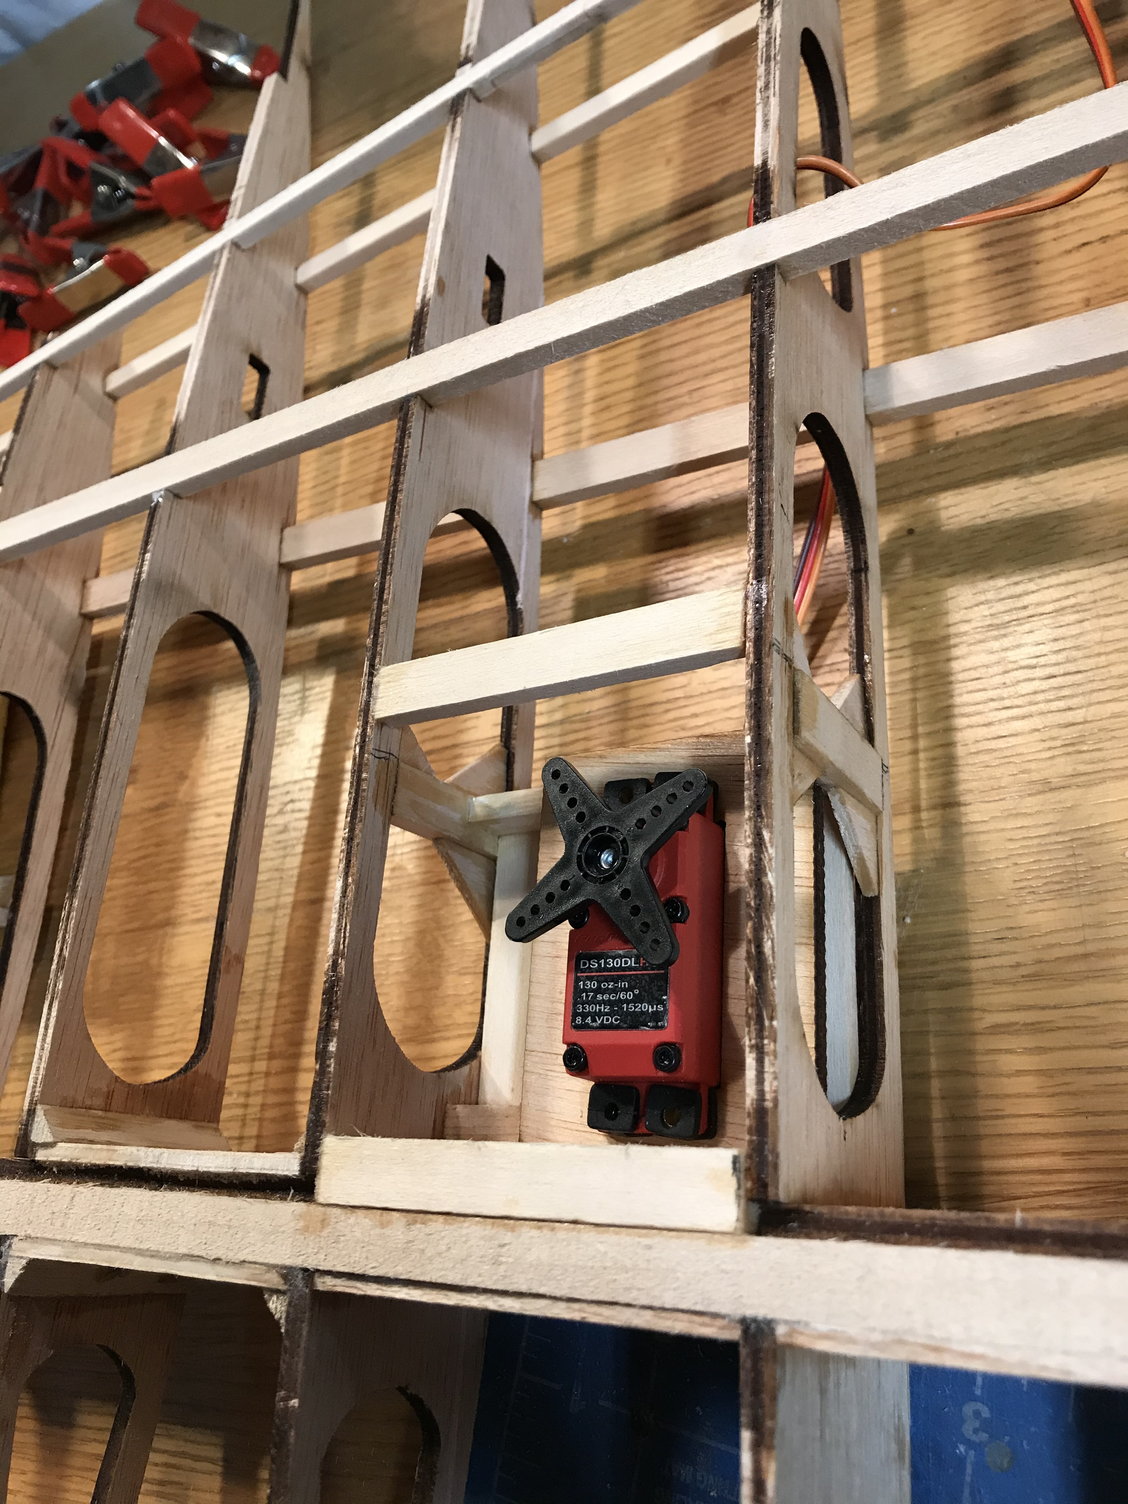
It�s been a busy spring with kid�s sports starting up etc but I�m finally getting some time to get back to the build. Finished up the servo box�s for ailerons and flaps. The kit comes with 4 servo trays for the wing servos and then the rest is up to you. I decided to run external linkages for the ailerons and an internal linkage set up for flaps. The aileron servo will lay flat and attach to the servo door much like some of the other giants I�ve built. The flap servo drops in and will be set up much like the hangar 9 30cc spitfire�s internal flap setup. Both servo doors are skinned with Flitskin.
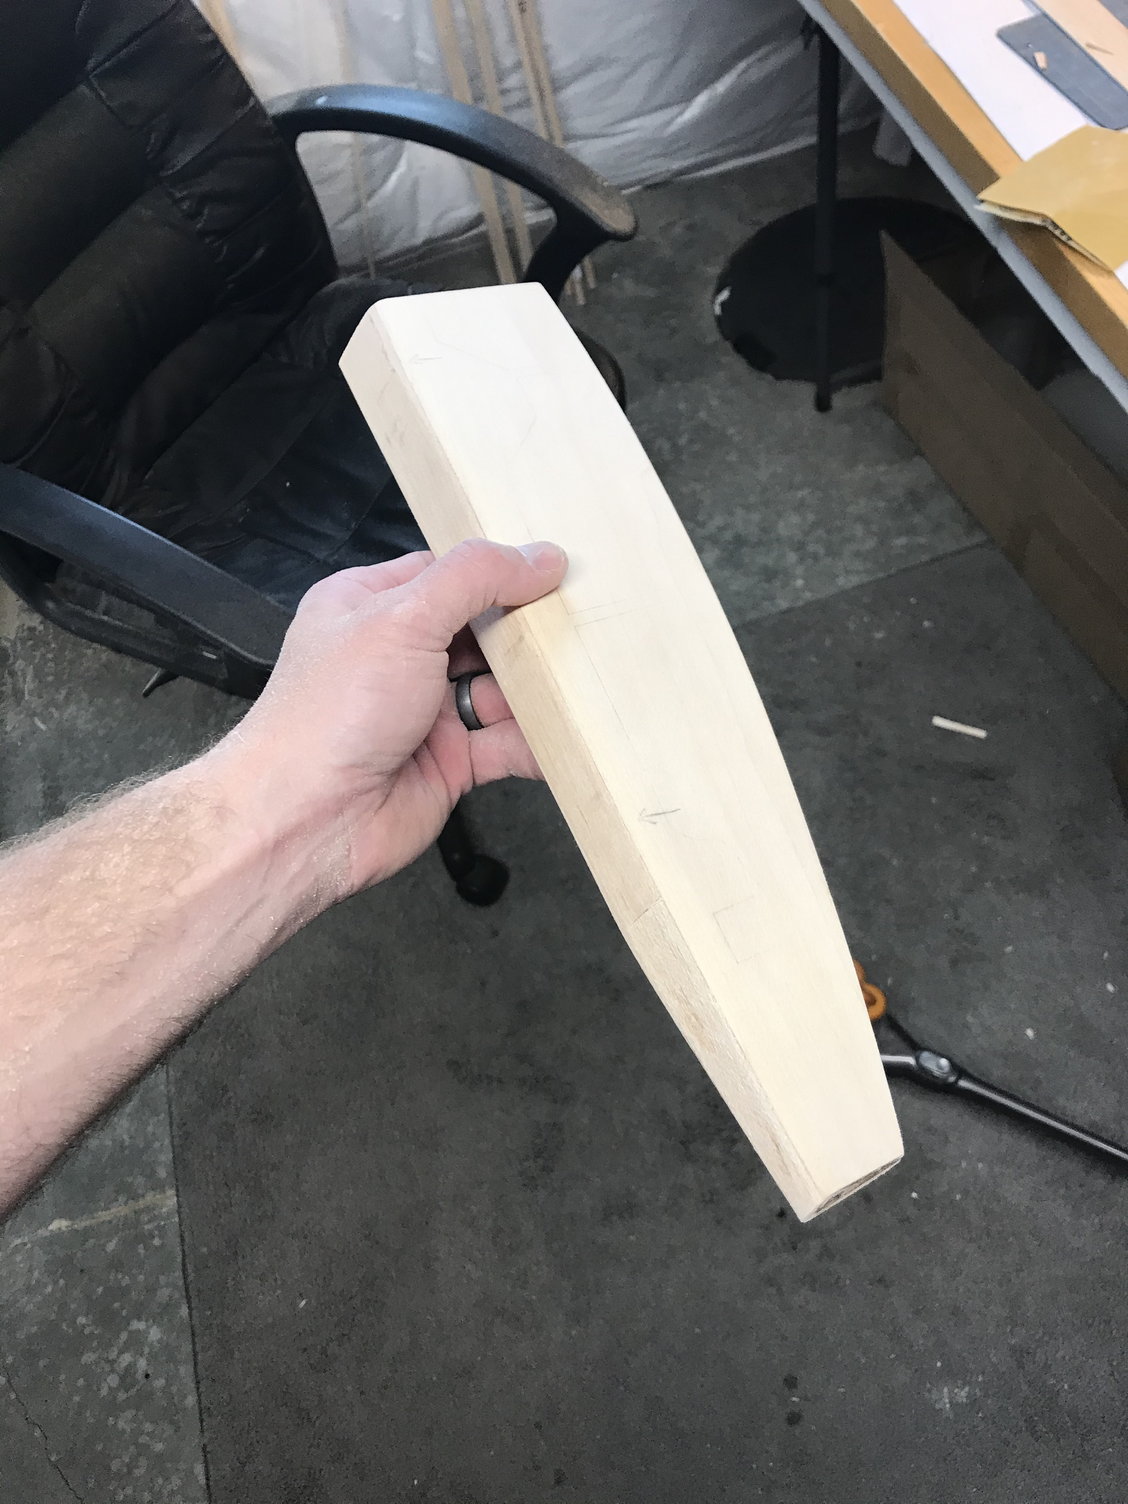
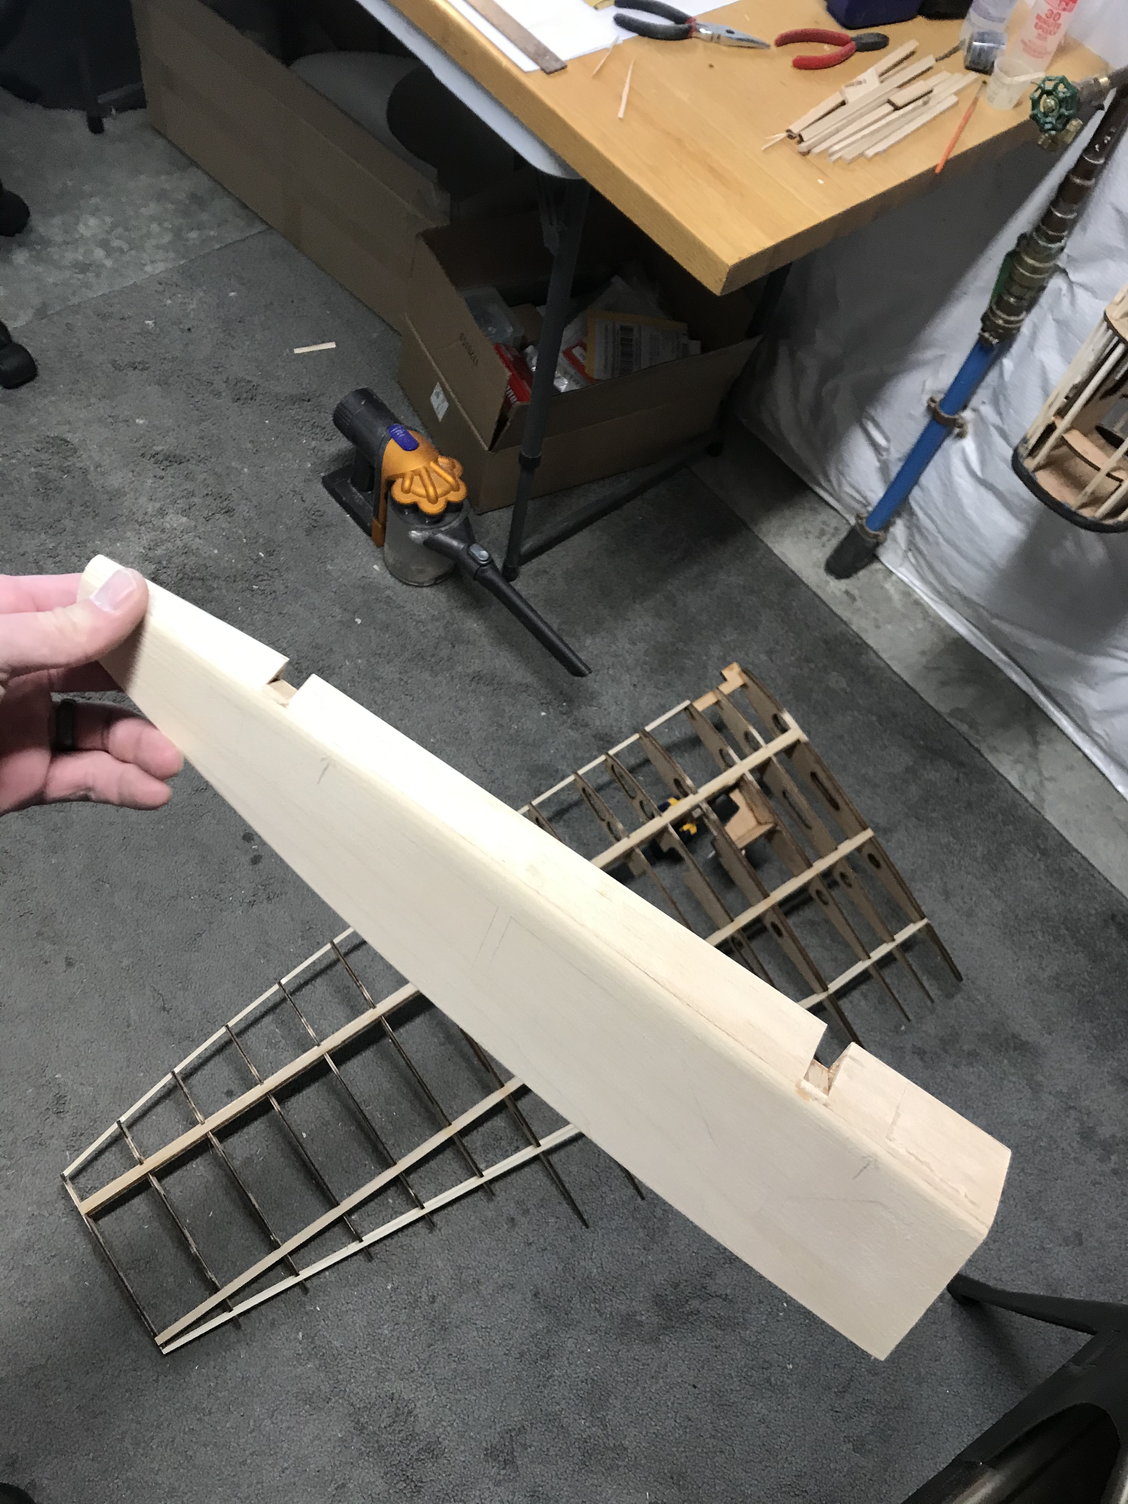
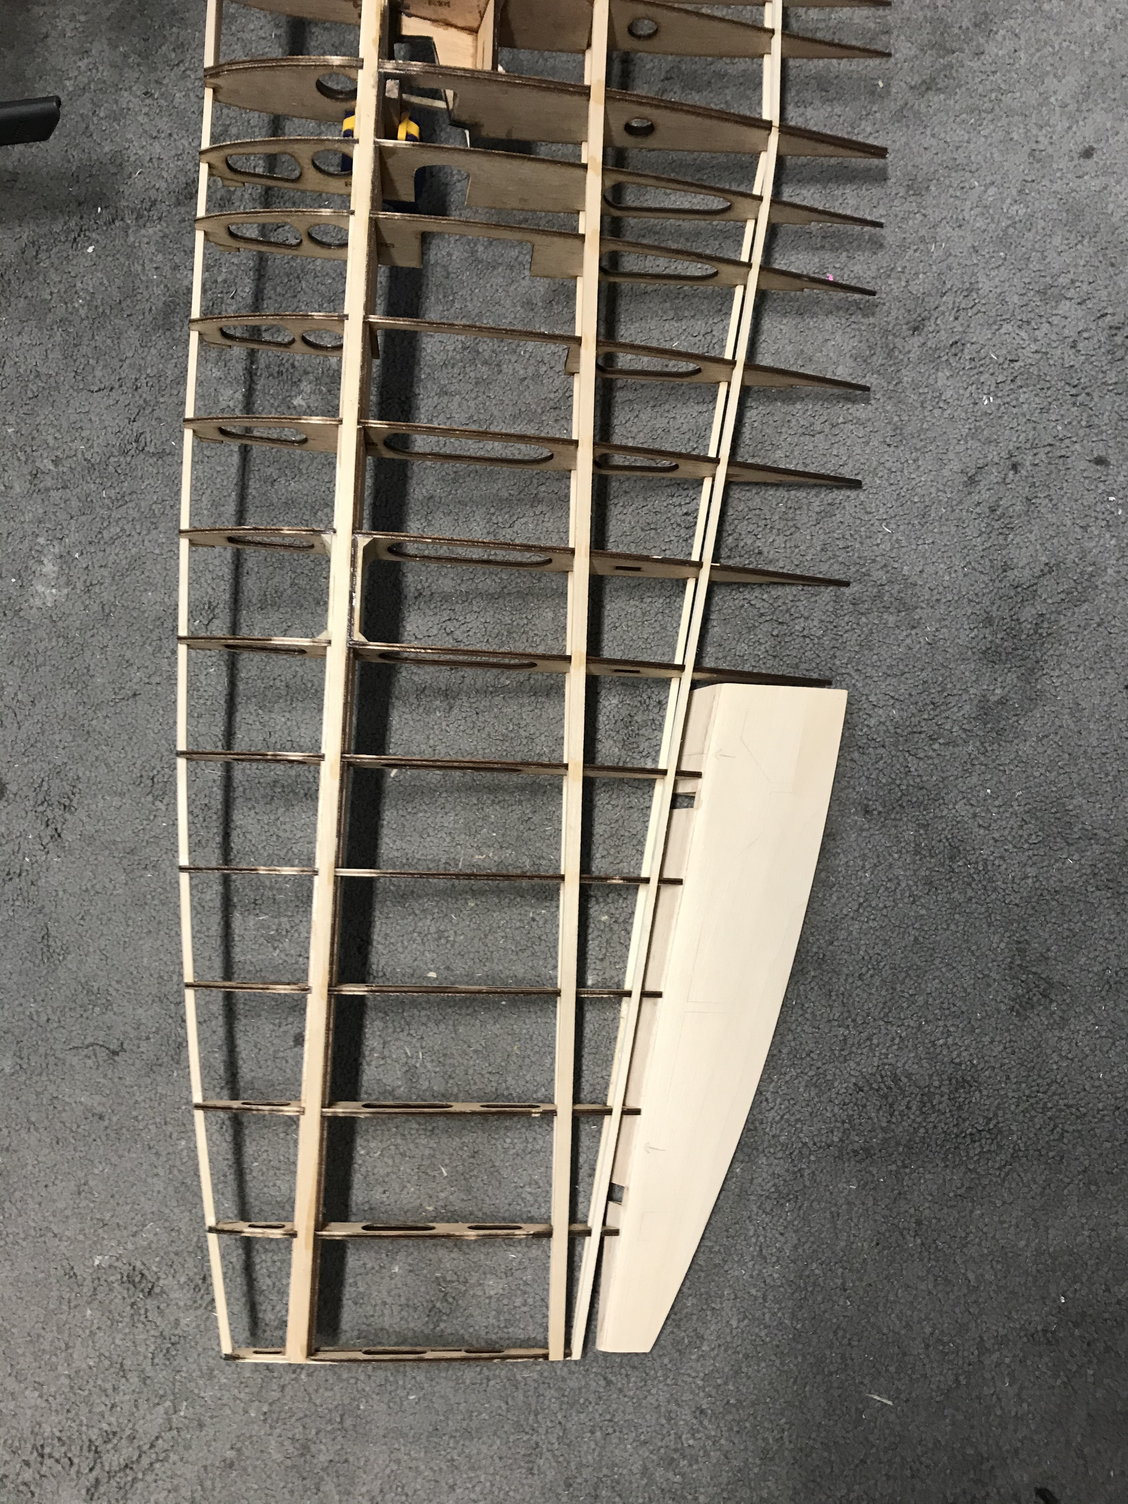
Also started on the right wing�s leading edge and blocked the wing tip. I have some time today so I�ll begin sanding them to shape. I should be able to begin skinning the upper surface next.

Also started on the right wing�s leading edge and blocked the wing tip. I have some time today so I�ll begin sanding them to shape. I should be able to begin skinning the upper surface next.
04-09-2021, 09:05 AM
#124
Thread Starter
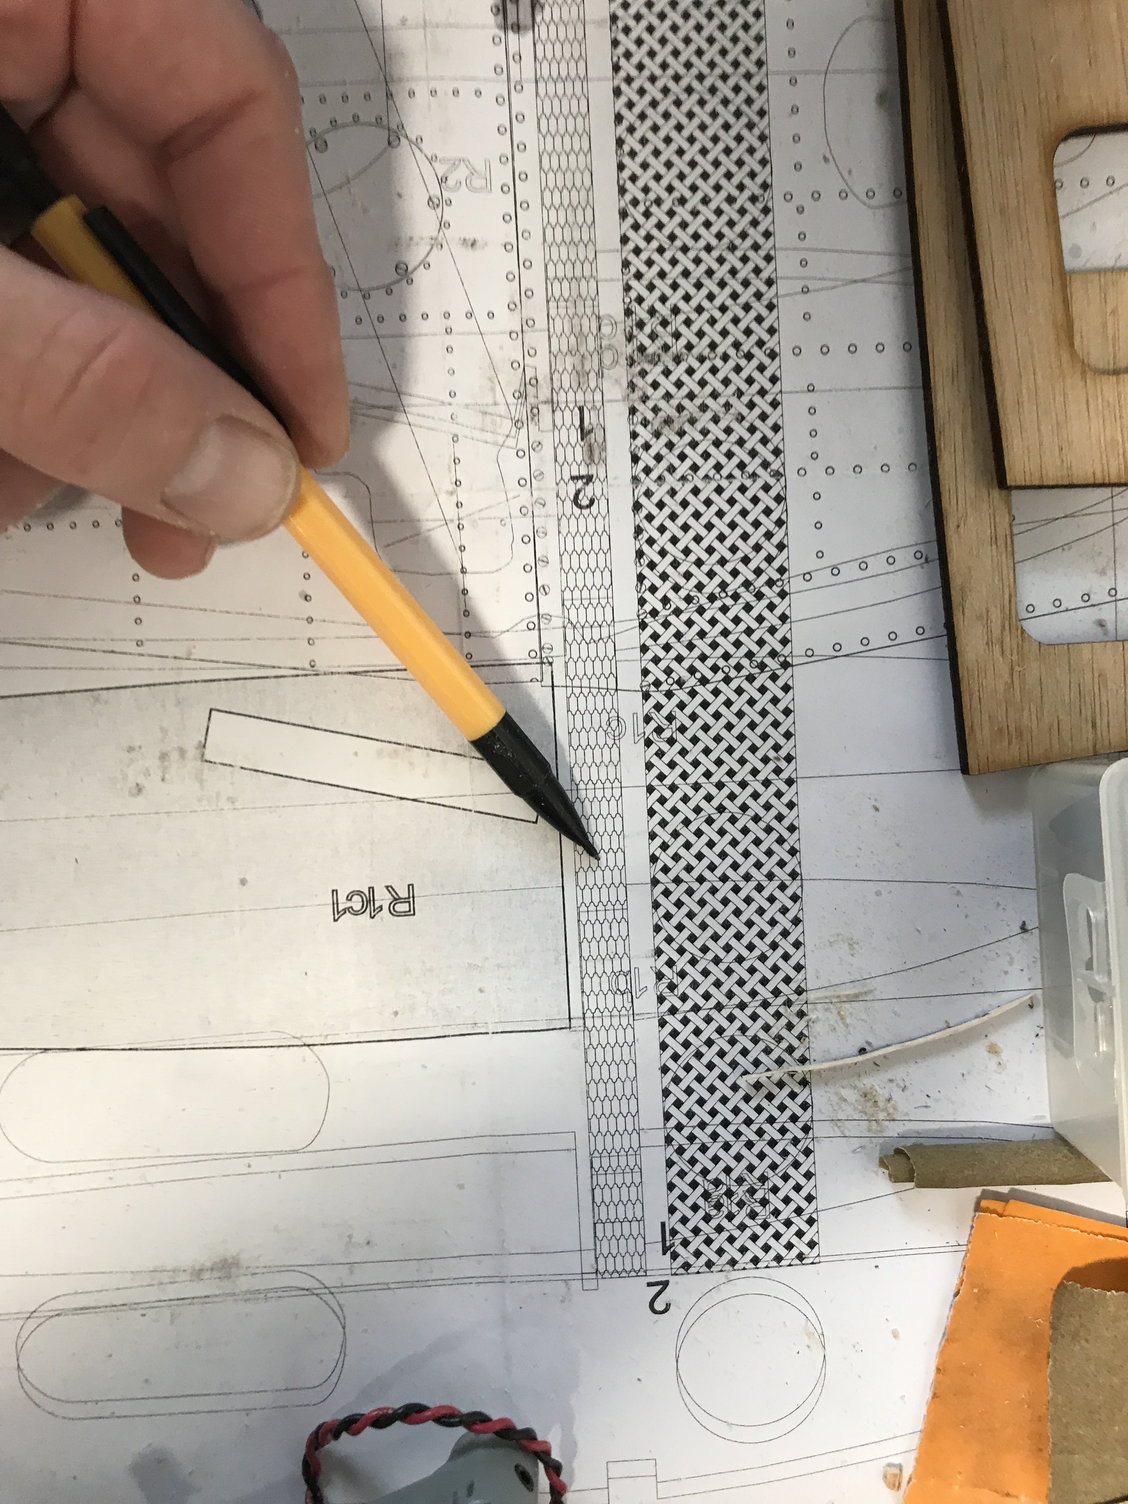
Thanks, is a process for sure! I was able to get my servo covers finished and mounted this morning before work. I also started out mapping nav lights. Figured this will be much easier prior to skinning the fuse and wing. I had to make the smallest incision in the coverall fabric on the rudder as I got ahead of my self when covering that but I can fix this easily. I�ll mod up a fairing for the bulb out of light gauge aluminum when I get home. Building will probably continue to be slow as the rest of my warbirds are ready to fly, as am I, and the weather is finally improving.


05-29-2021, 06:46 PM
#125
Thread Starter
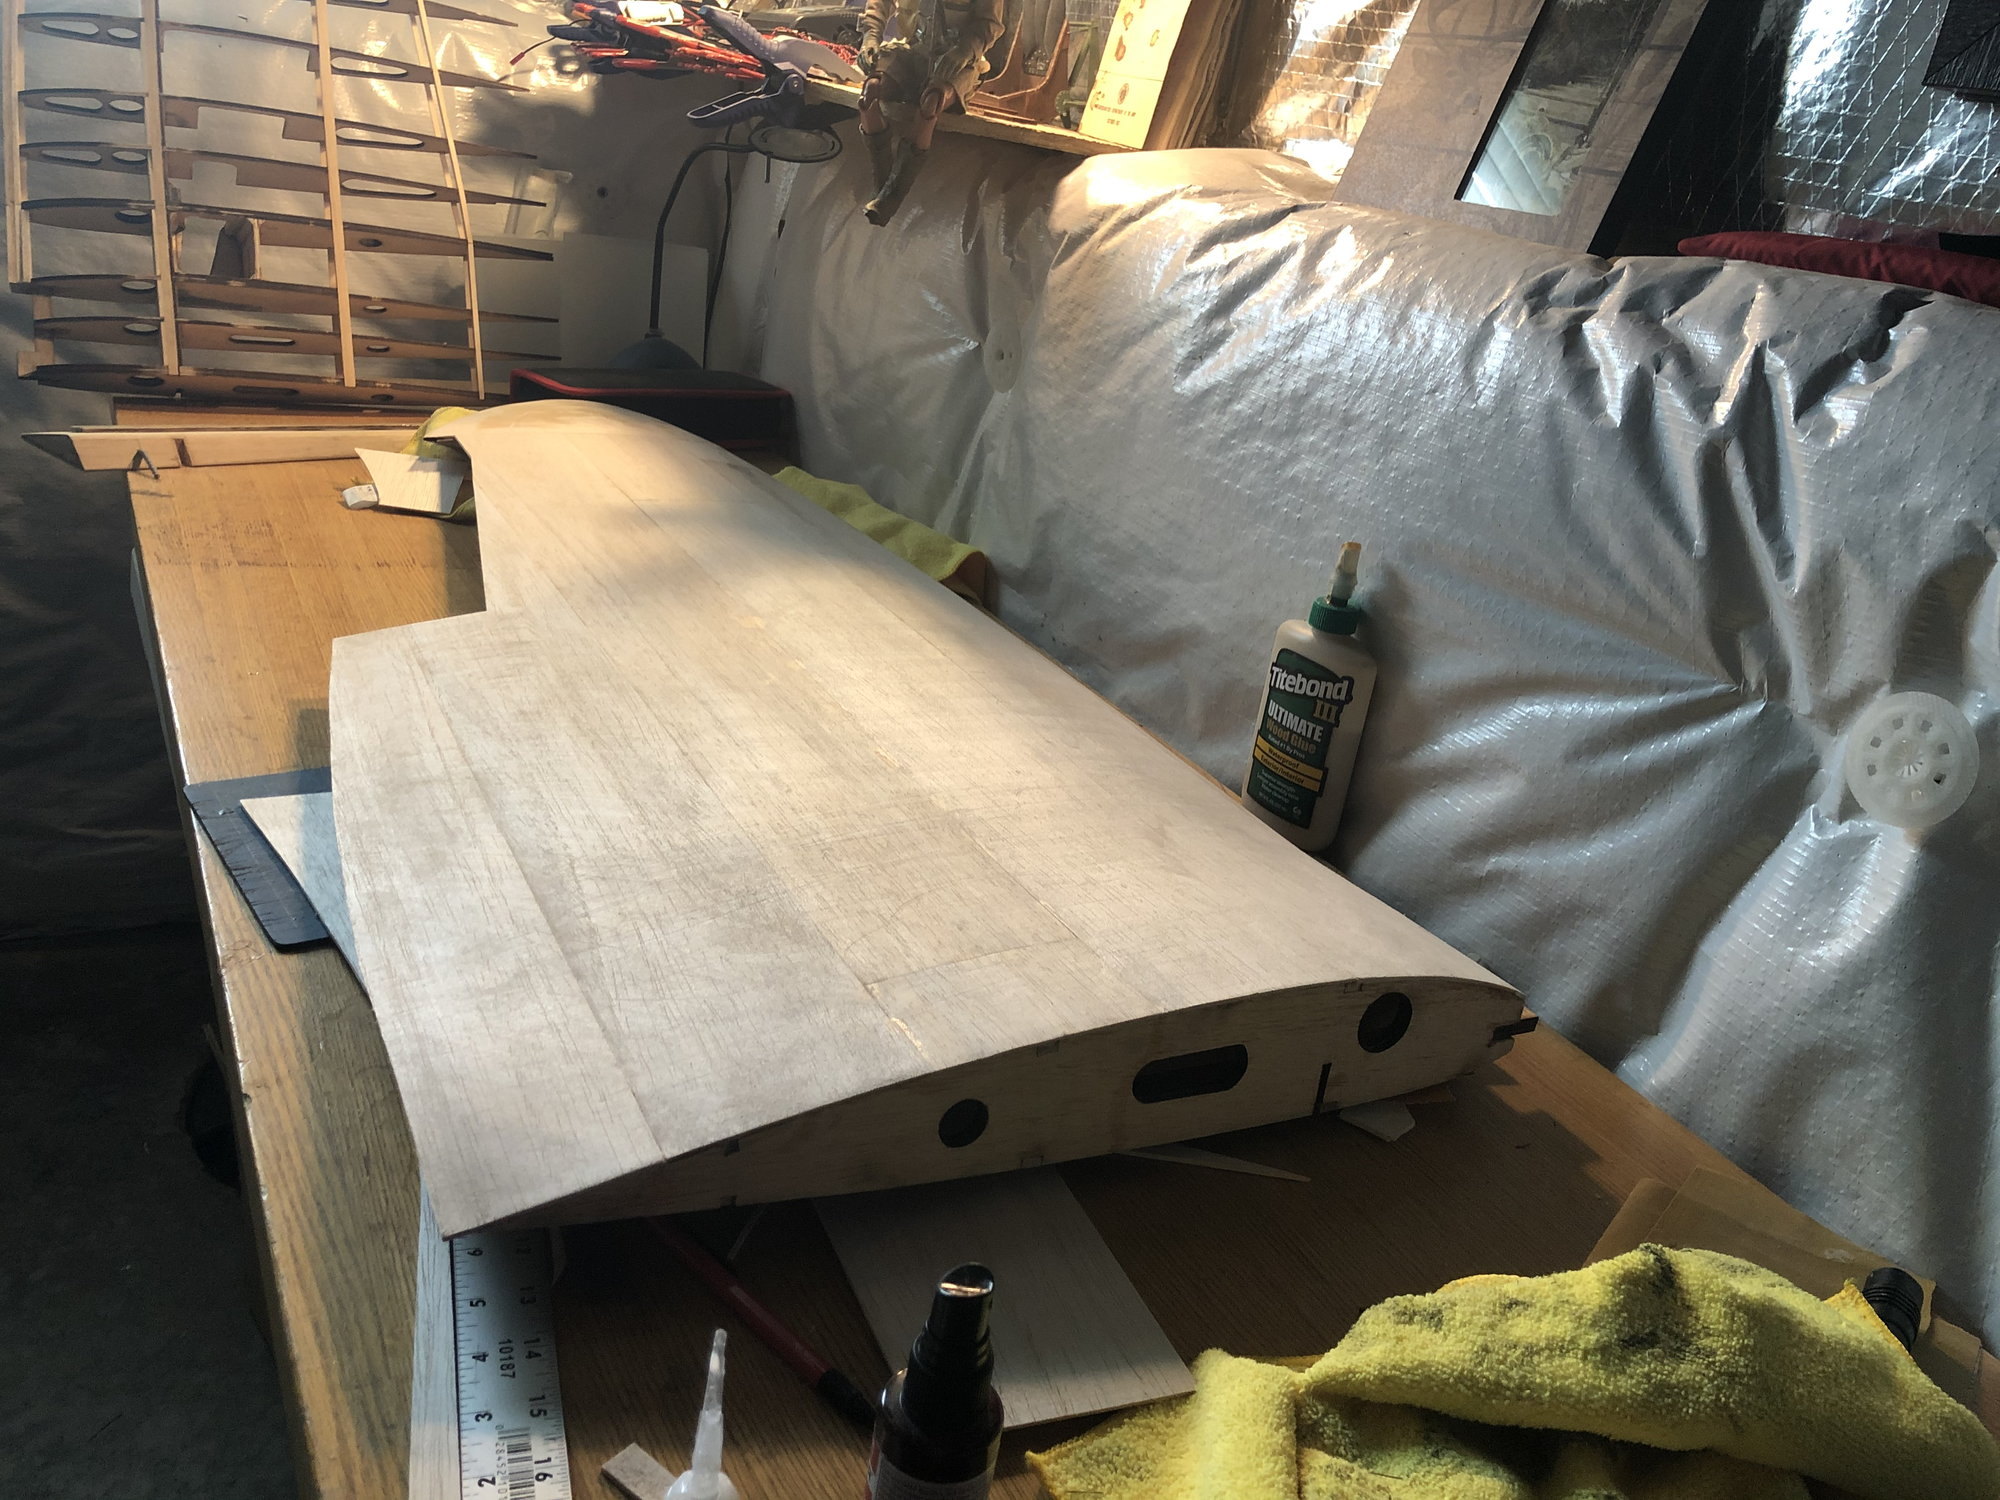
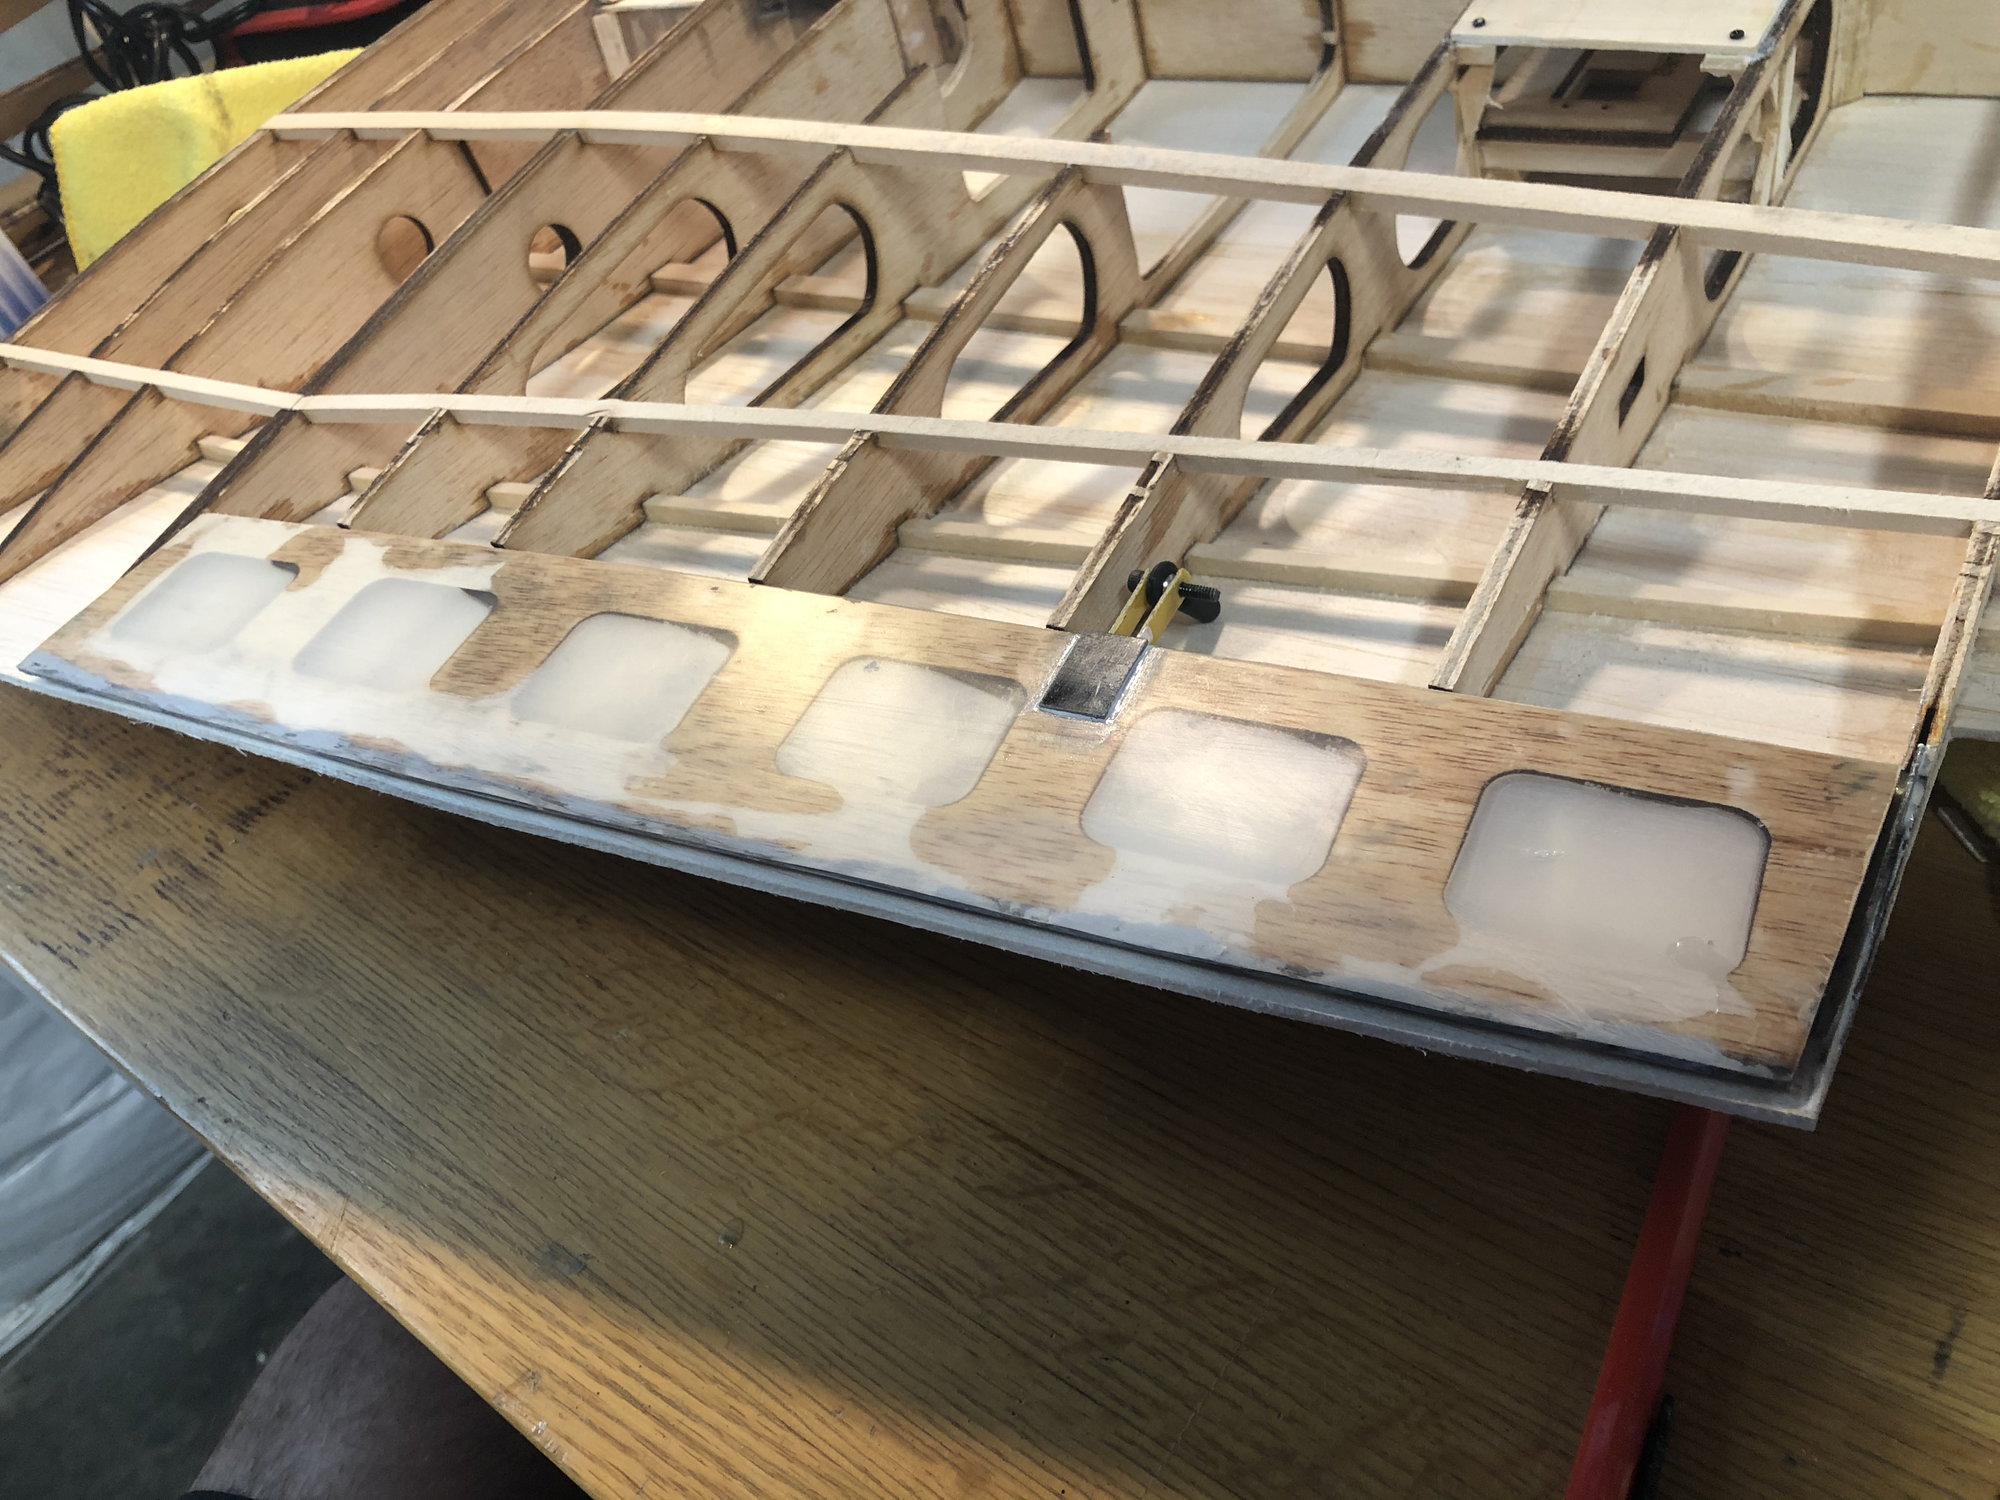
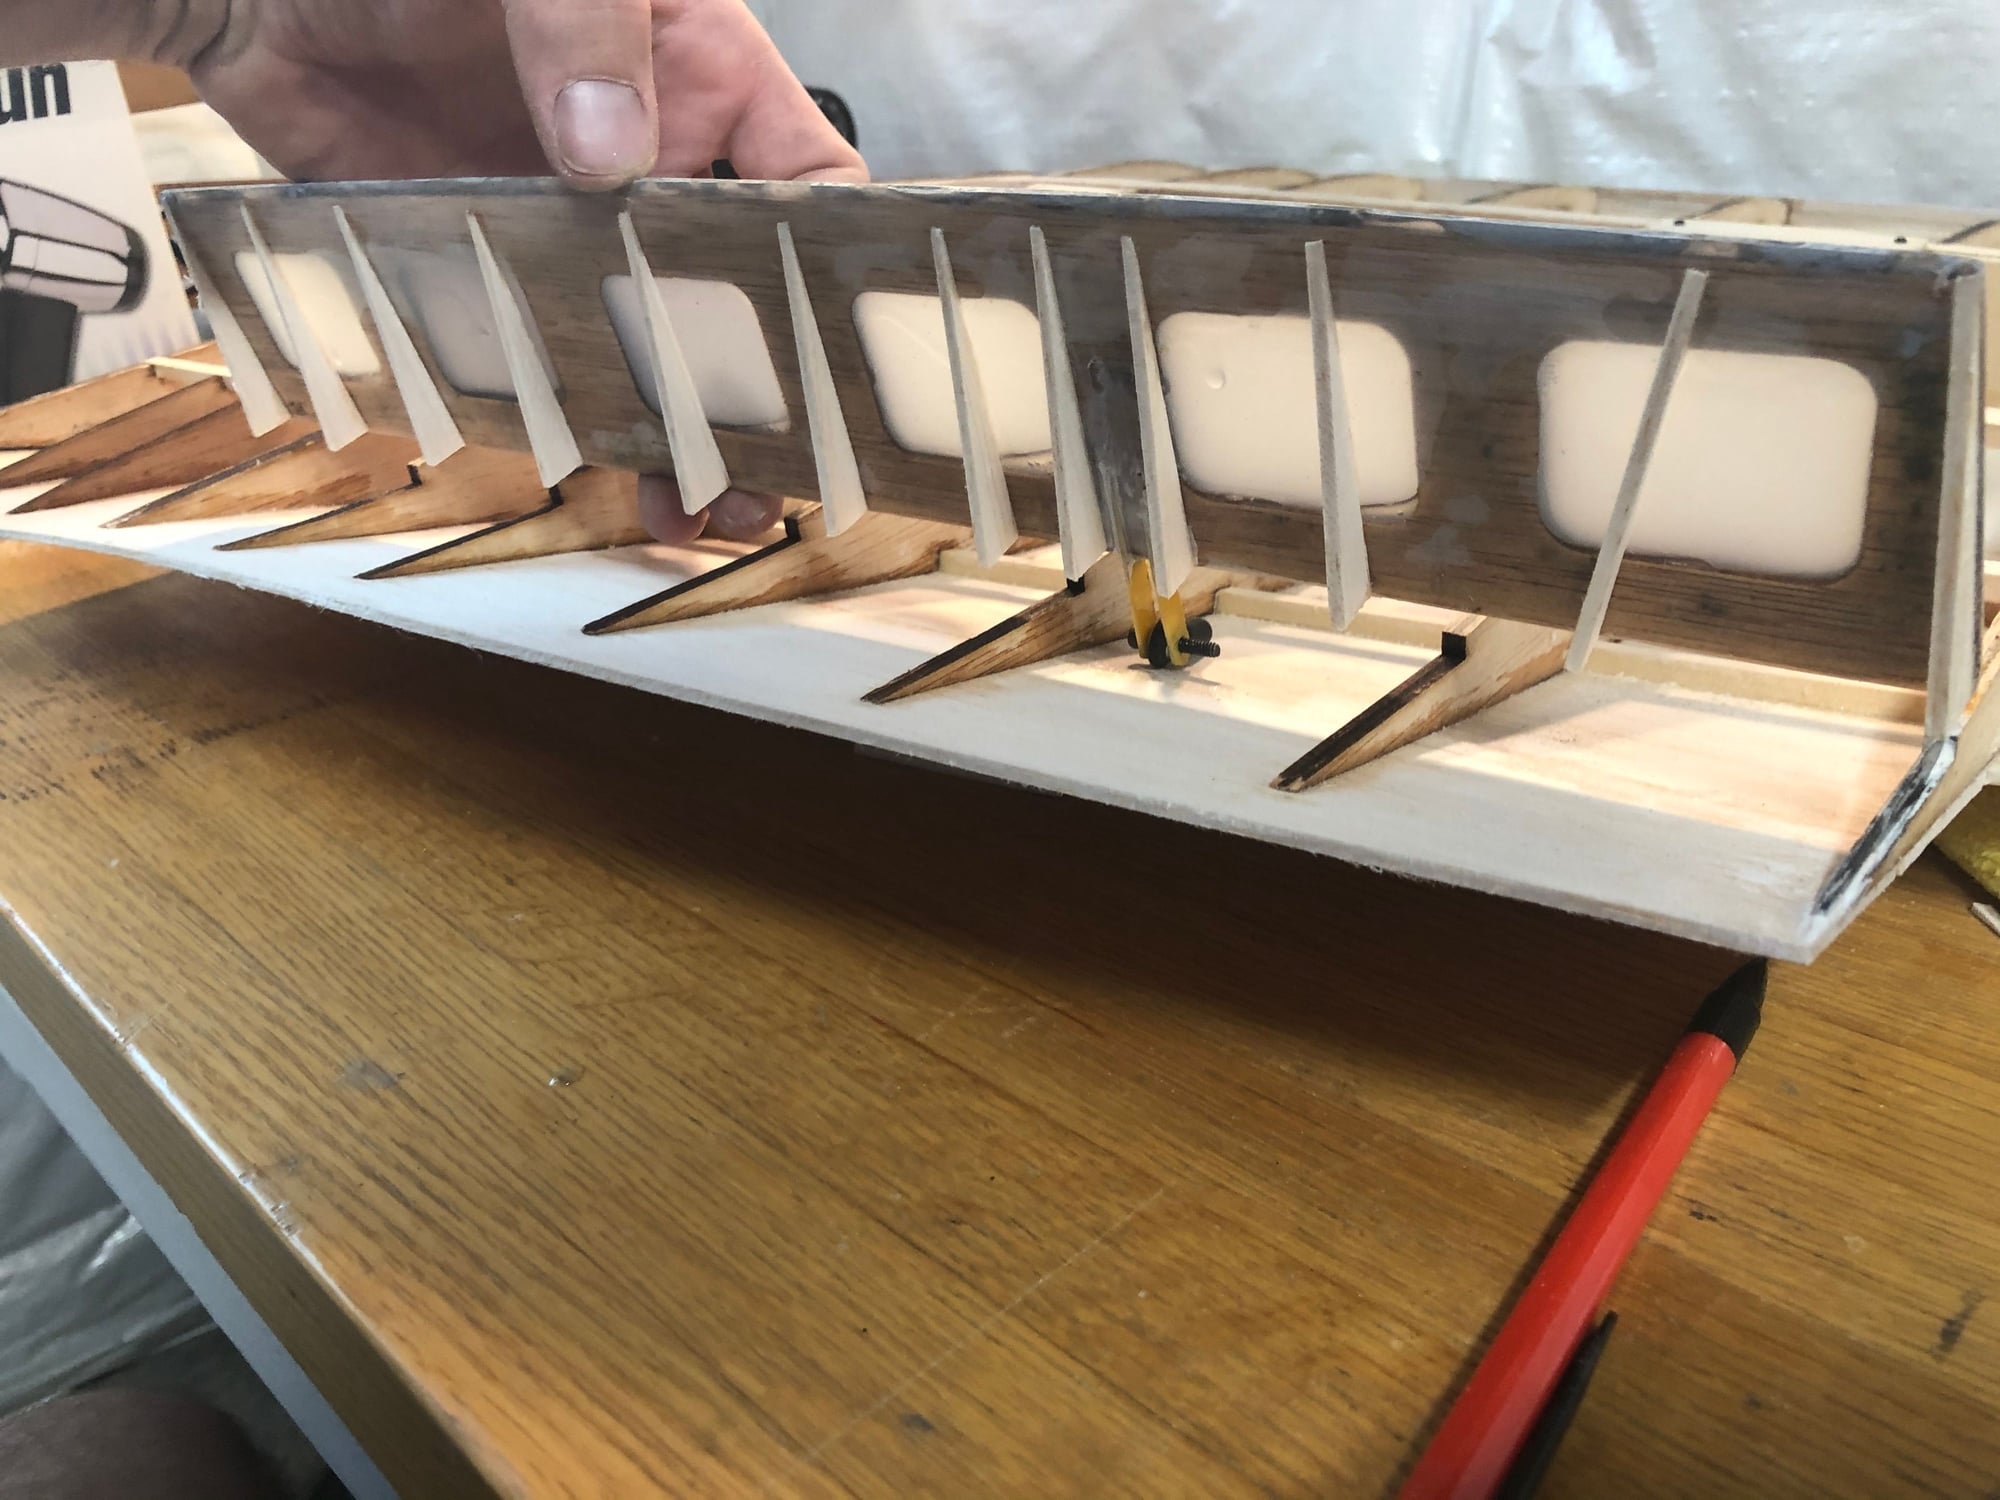
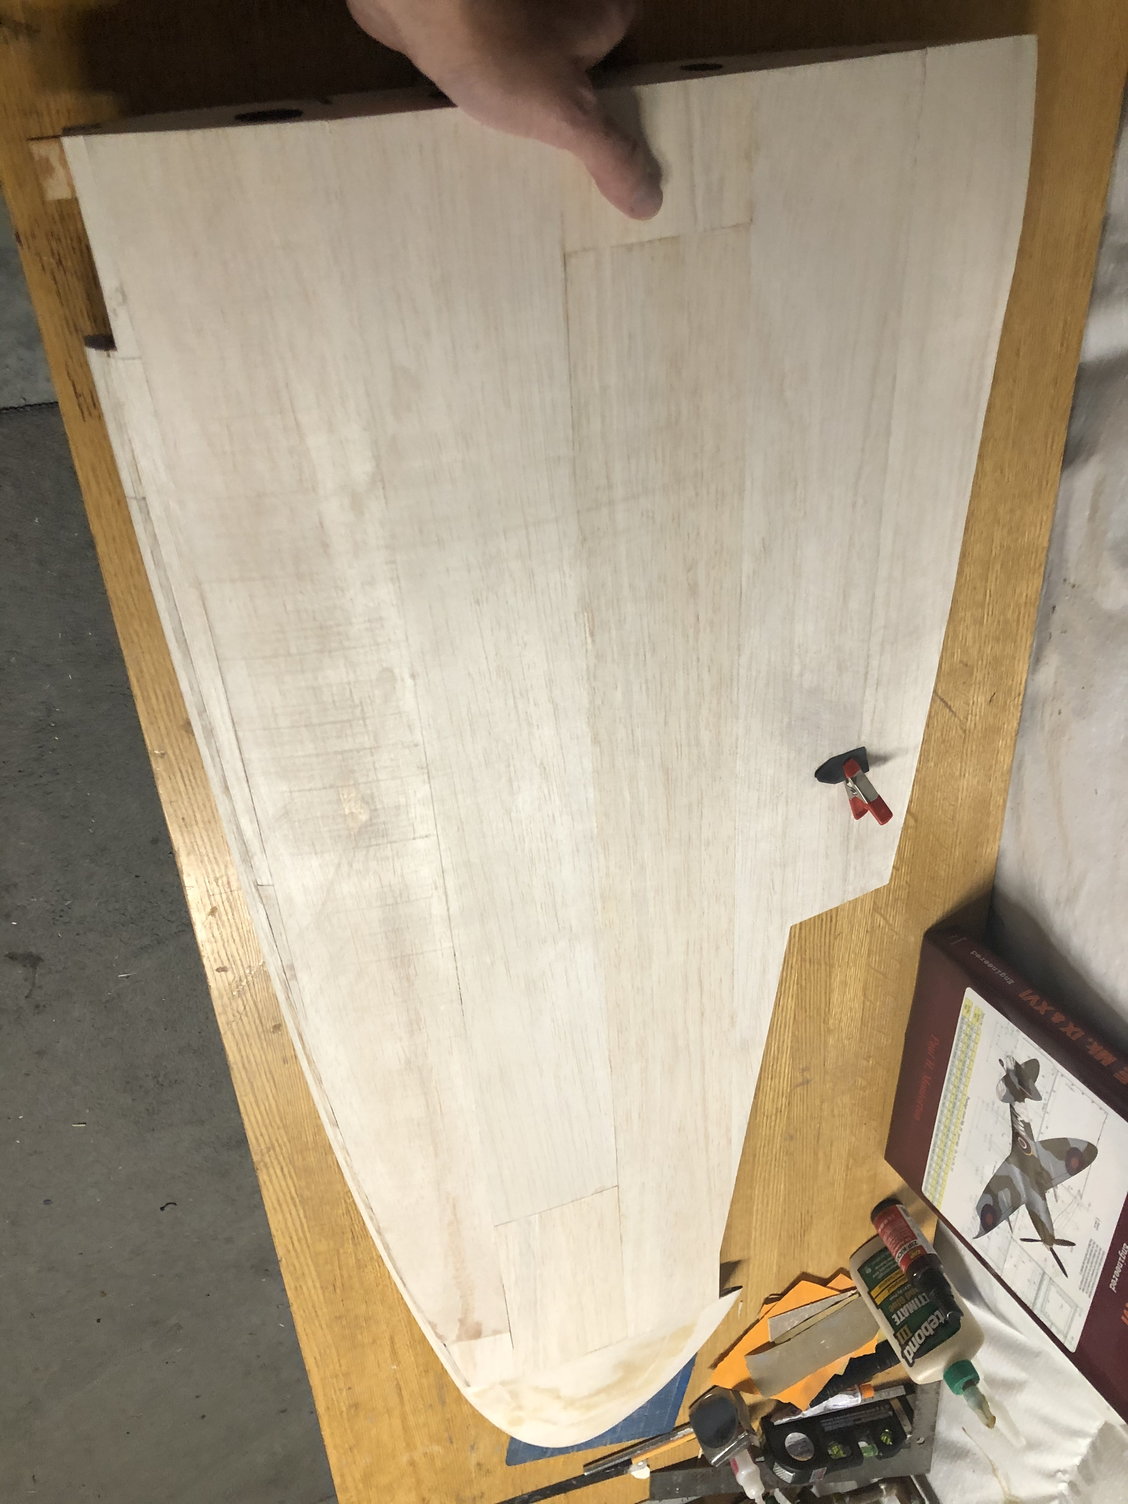
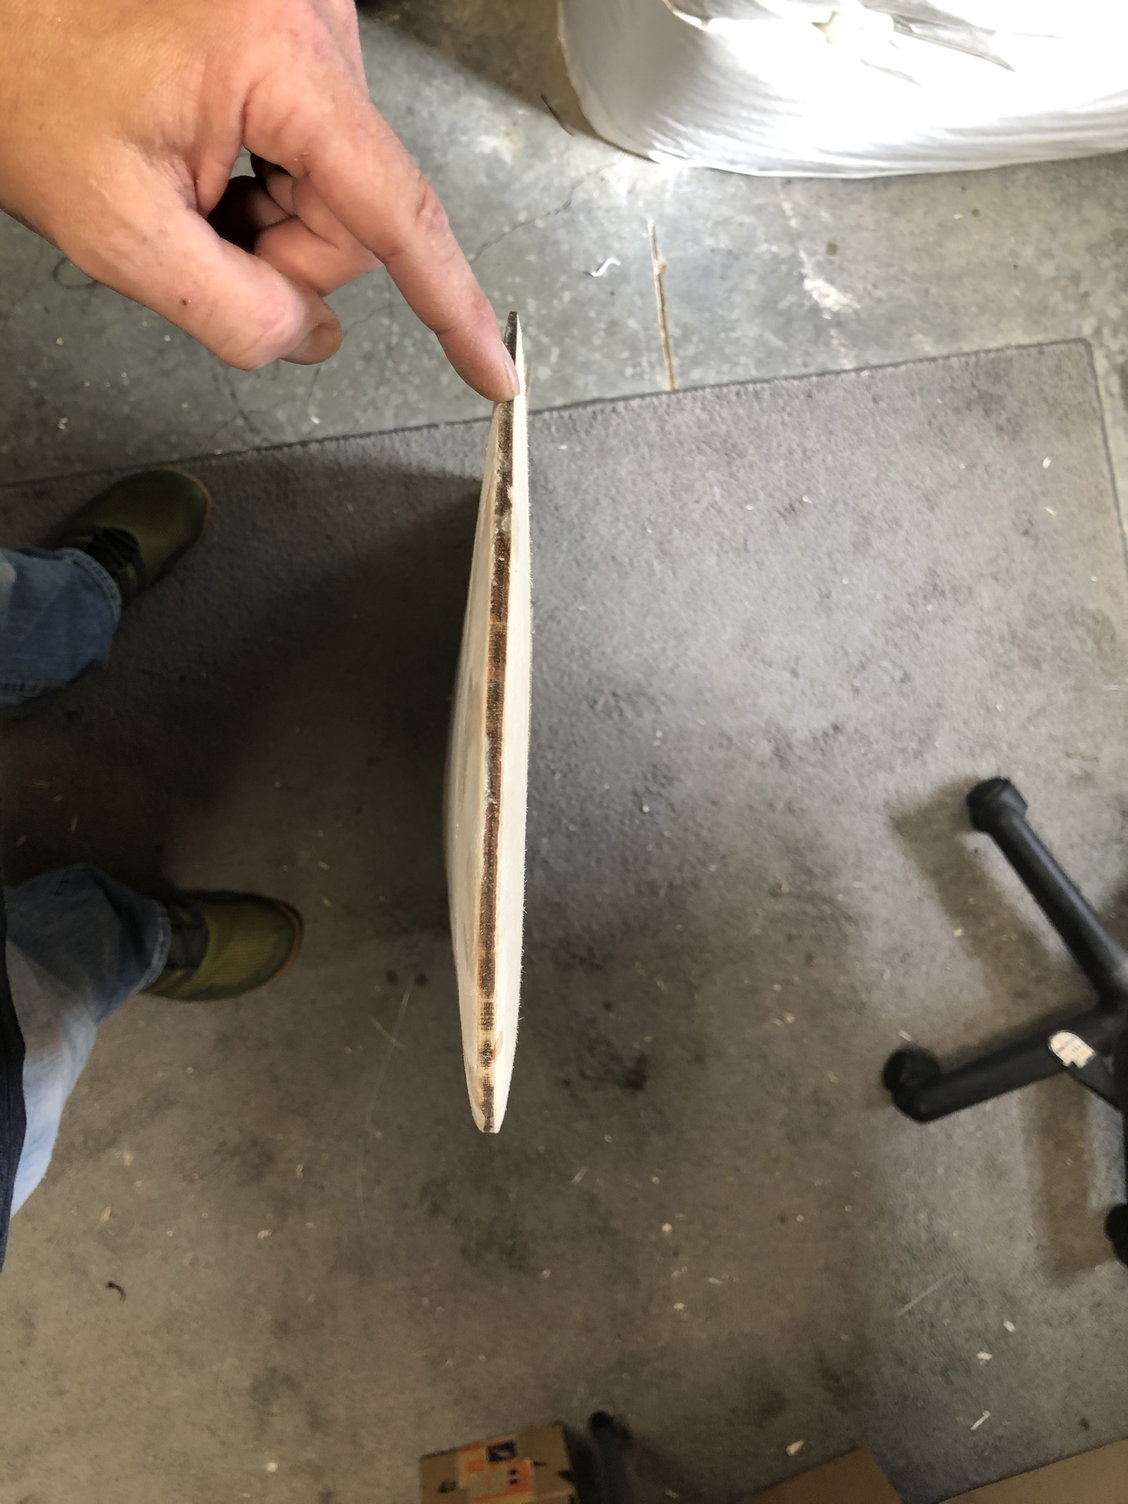
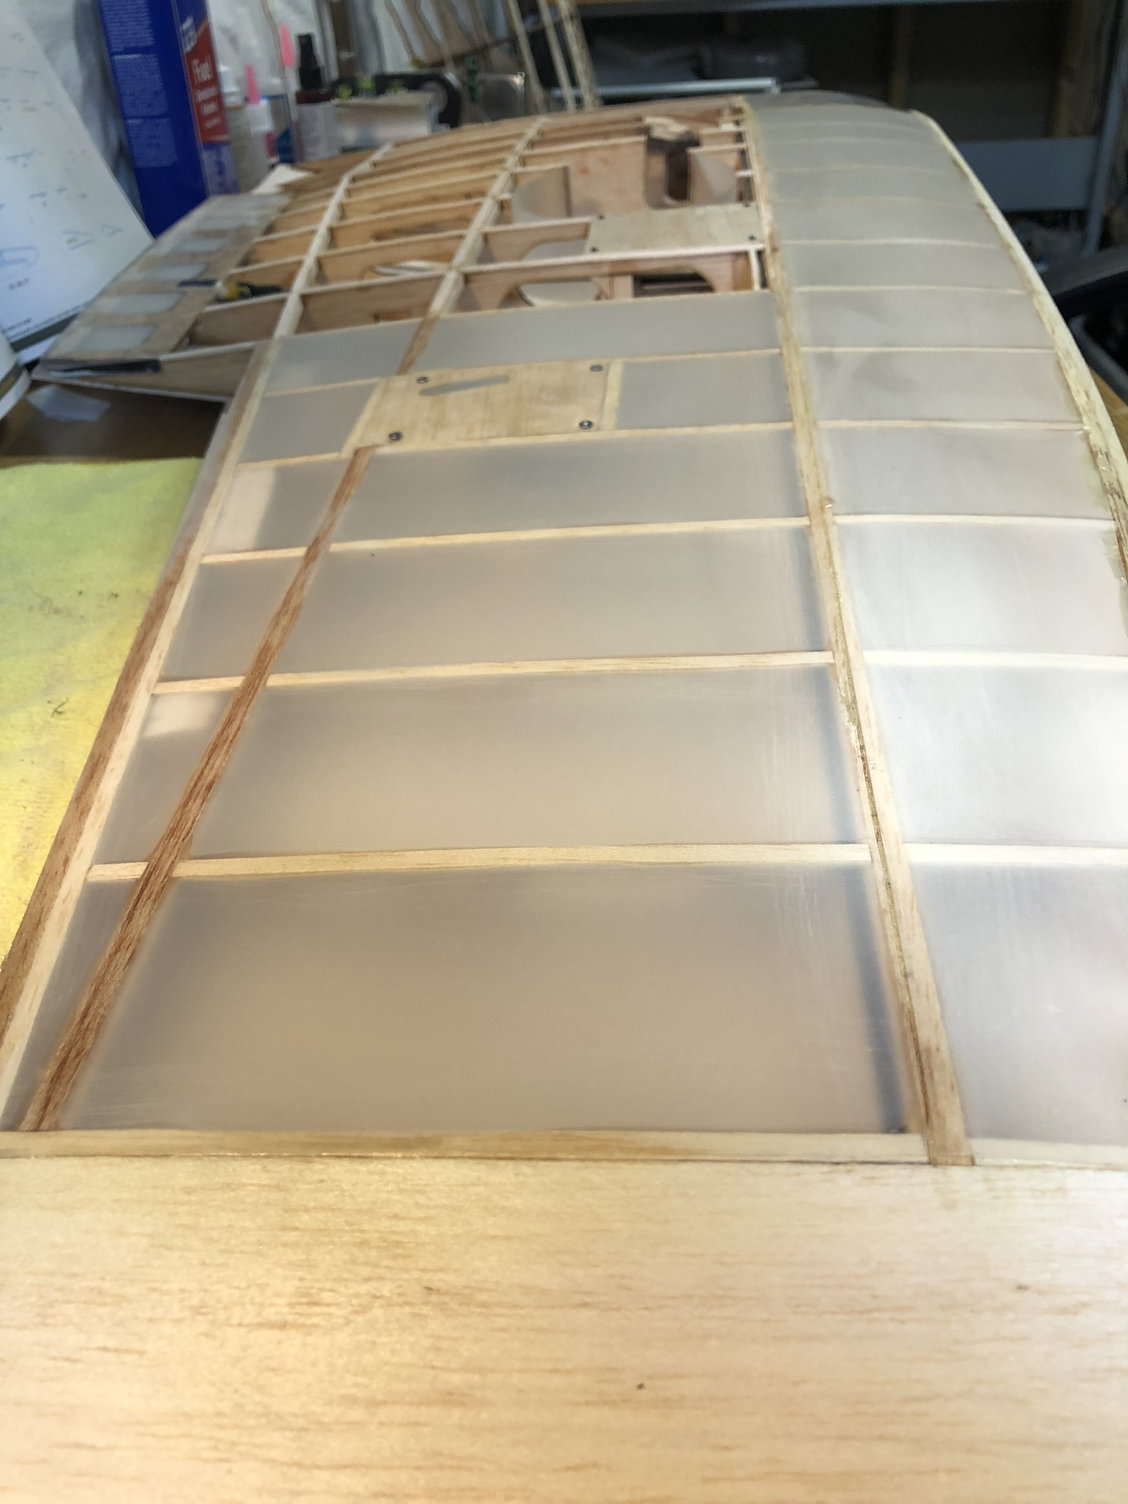
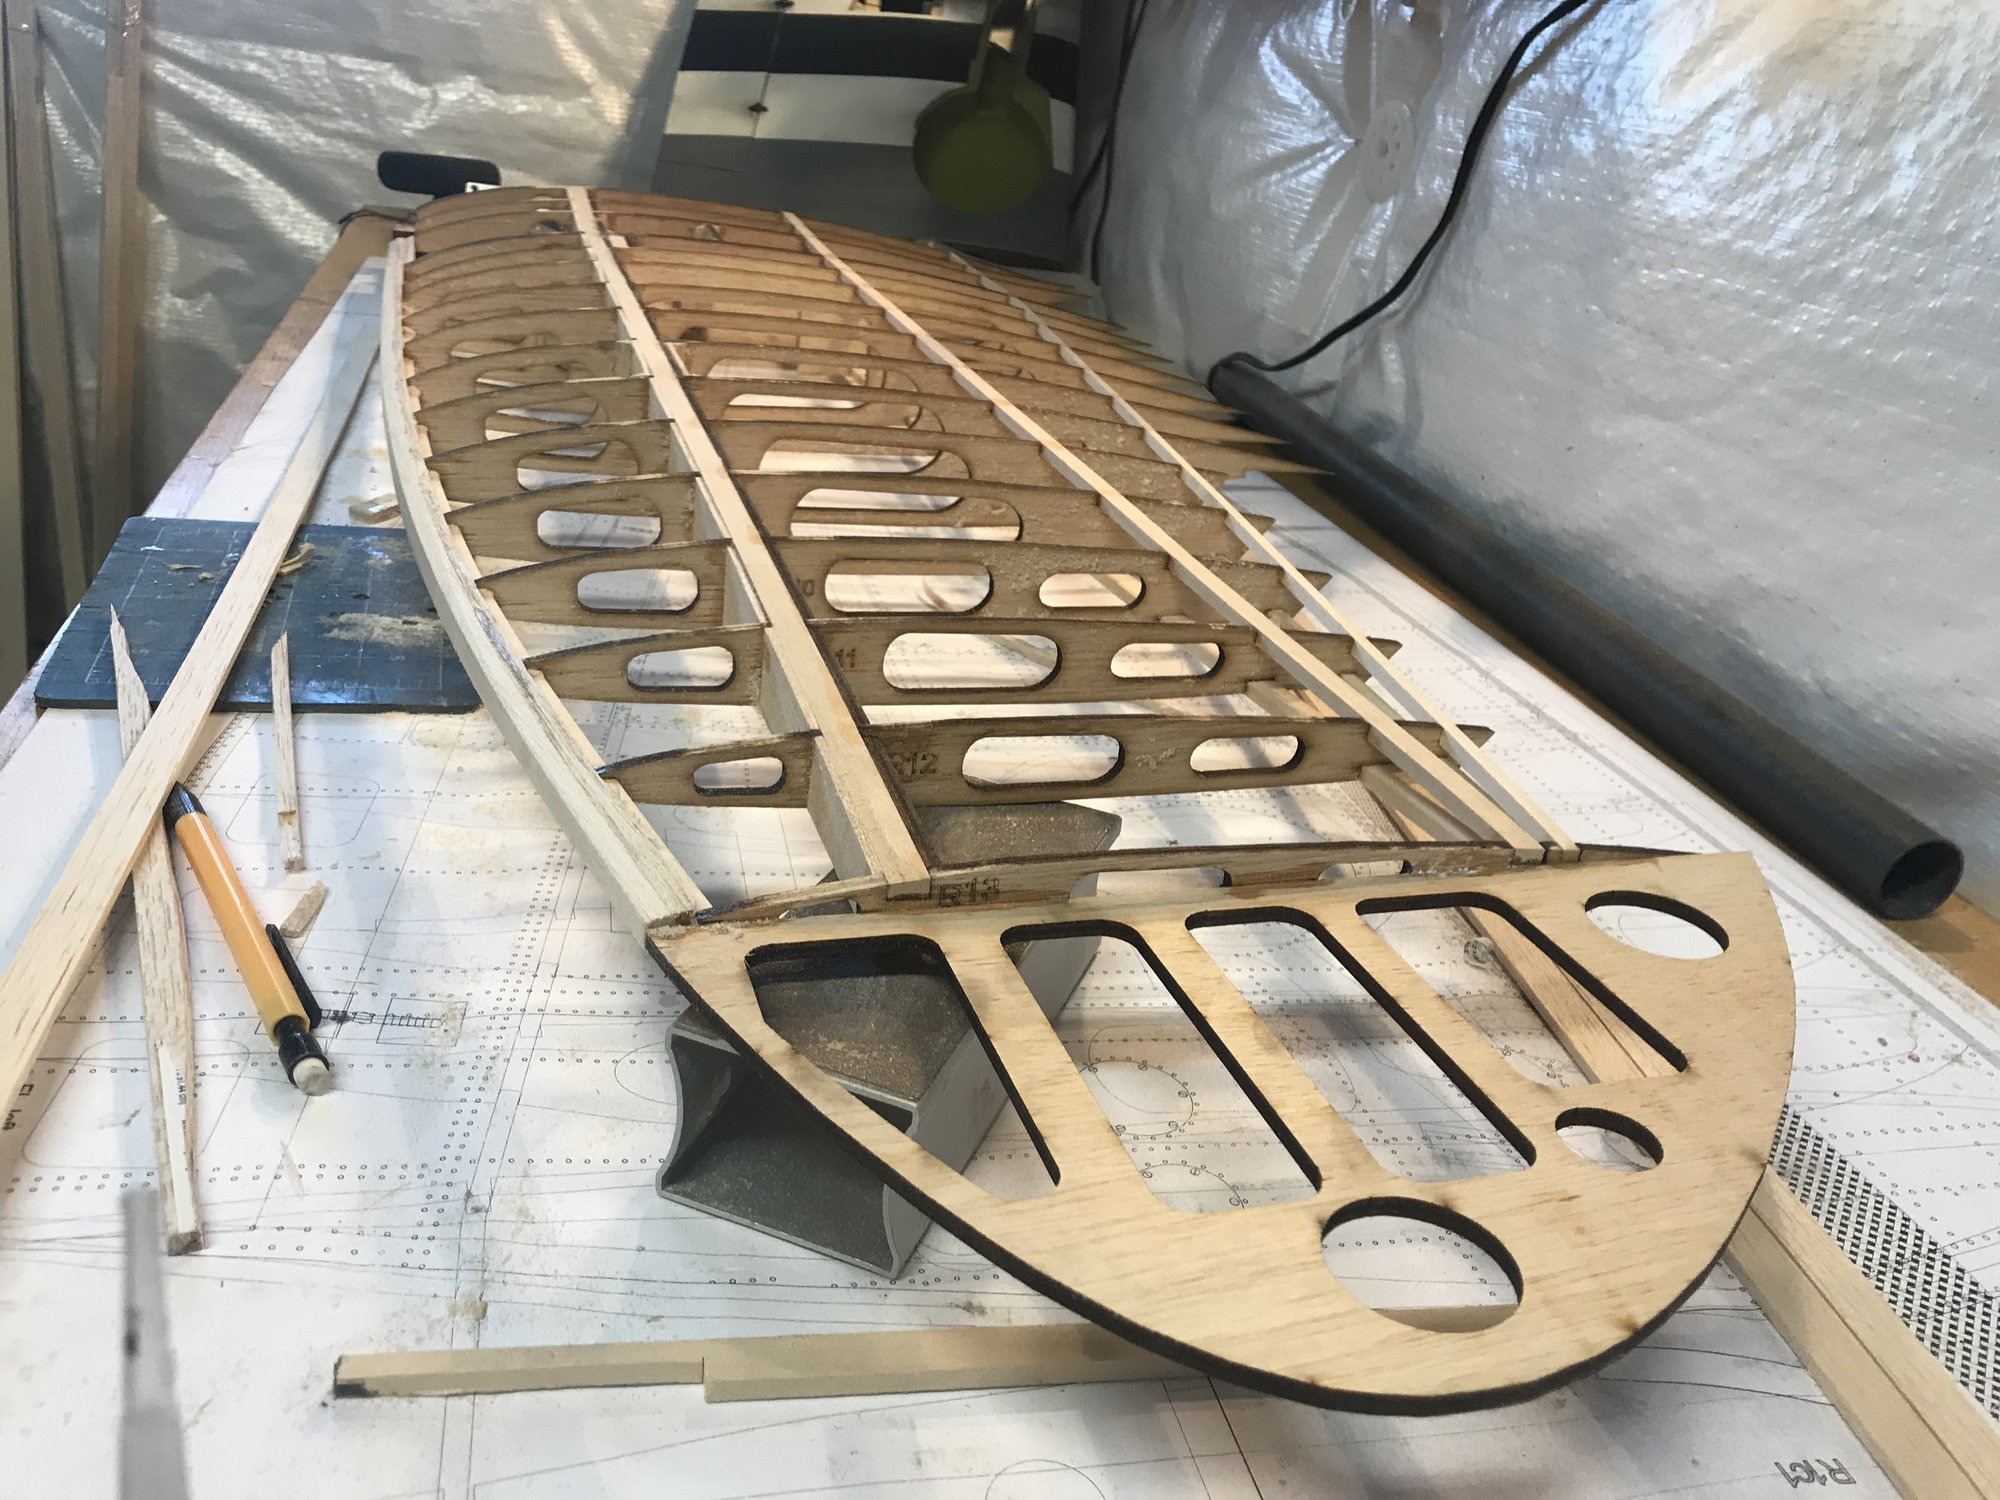
Got a much needed vacation and with the rains in nw Missouri was able to switch gears from flying to building. I set up my flap system with the upper door, still need to set up a spring to retract it when the flaps are retracted. I began skinning the left wing half. I decided to do the upper surface in balsa and lower in flight skin, (being that flight skin doesn�t like compound curves). So far so good, this is my first attempt at flight skin but I�m very pleased with how it�s going, I�ll finish sand the leading edge once that�s complete. I plan to wrap my fiberglass around it, joining the two together. I also was able to get my rudder light housing built up using light gauge tin. Nice to get going again, today was also beautiful here so I divided time between this in the morning and flying this afternoon.